When it comes to special occasions, there’s nothing quite like a perfectly cooked Chateaubriand. This classic dish has been a staple of fine dining for centuries, and its rich flavor and tender texture make it a crowd-pleaser every time. But while traditional Chateaubriand recipes are certainly delicious, why not shake things up with some new twists and flavors? From creamy sauces to bold herb infusions, we’ve gathered 19 exquisite Chateaubriand recipes that are sure to impress your guests.
Whether you’re looking for a classic Béarnaise sauce or something more adventurous like truffle mashed potatoes, we’ve got you covered. Our collection of recipes features a range of flavors and techniques, from red wine reduction to pan-seared perfection. So why settle for just one way when you can have 19? Dive in and discover the perfect Chateaubriand recipe for your next special occasion.
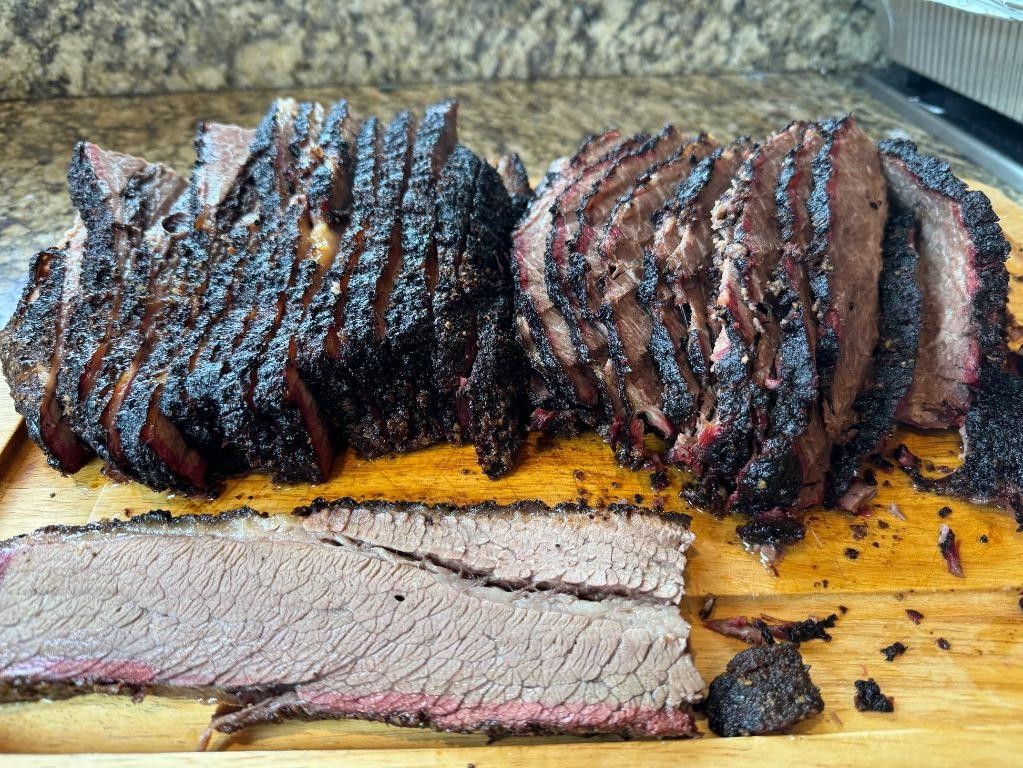
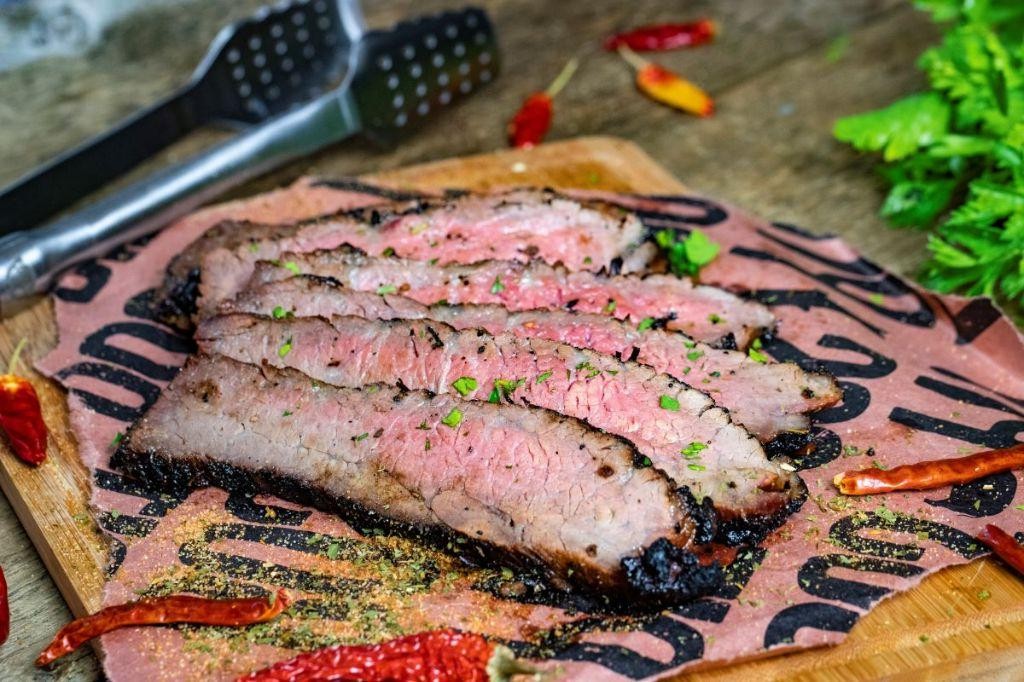
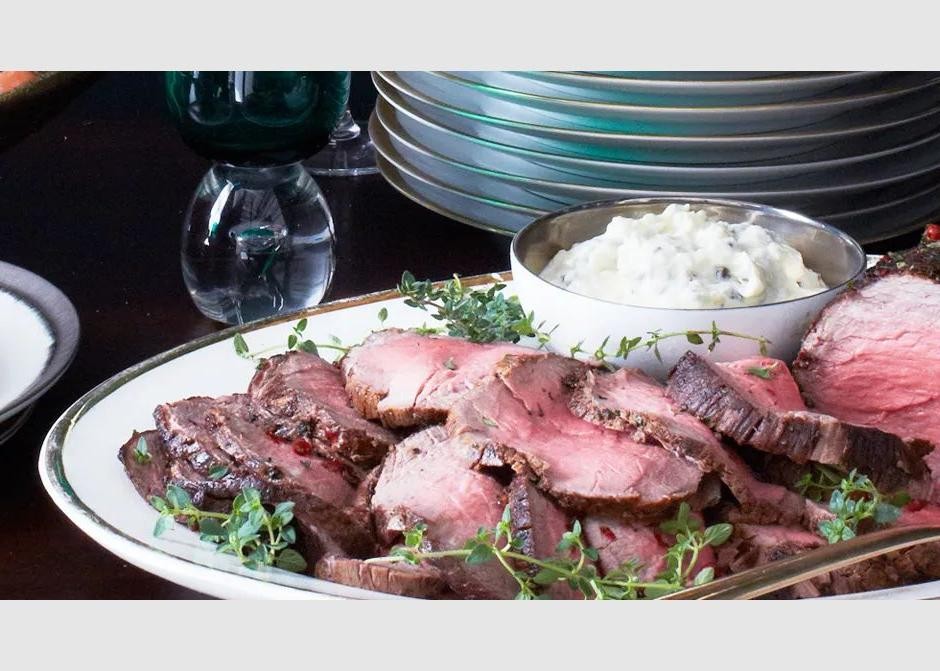
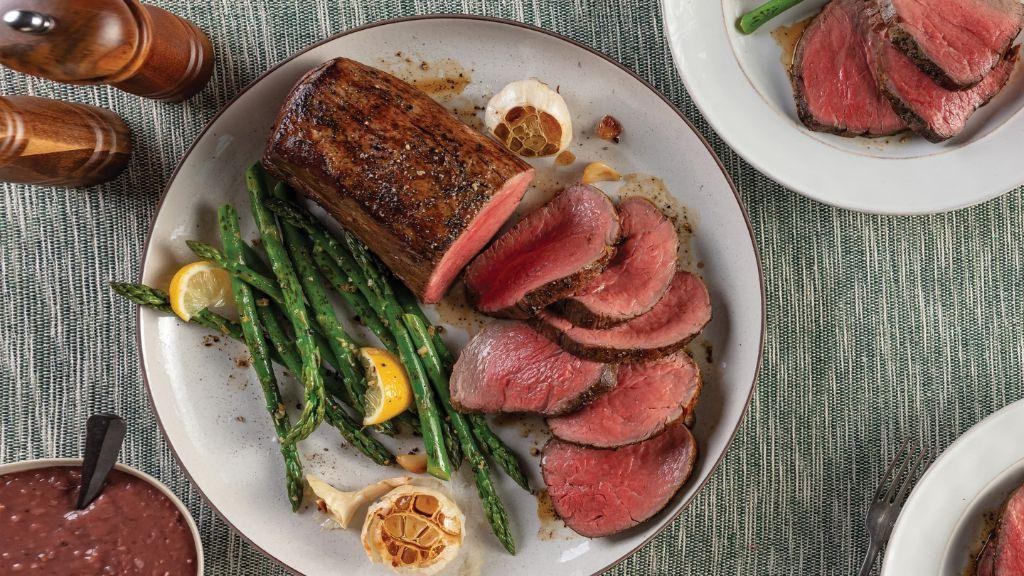
Classic Chateaubriand with Béarnaise Sauce
Classic Chateaubriand with Béarnaise Sauce Recipe
This iconic dish is a show-stopper at any dinner party, featuring tender filet mignon smothered in rich and creamy Béarnaise sauce. With its velvety texture and subtle tanginess, this sauce elevates the already impressive flavor of the beef to new heights.
Ingredients:
– 1 (1.5-2 pound) filet mignon
– Salt and black pepper, to taste
– 2 tablespoons butter
– 1/2 cup Béarnaise sauce (homemade or store-bought)
– Fresh parsley, chopped (optional)
Instructions:
1. Preheat oven to 375°F.
2. Season the filet mignon with salt and black pepper on both sides.
3. Melt 1 tablespoon of butter in an oven-safe skillet over high heat. Sear the beef for 1-2 minutes per side, then transfer it to the preheated oven.
4. Cook the beef for 10-12 minutes, or until it reaches desired doneness.
5. Remove the beef from the oven and top with Béarnaise sauce. Serve immediately.
Cooking Time: 20-25 minutes
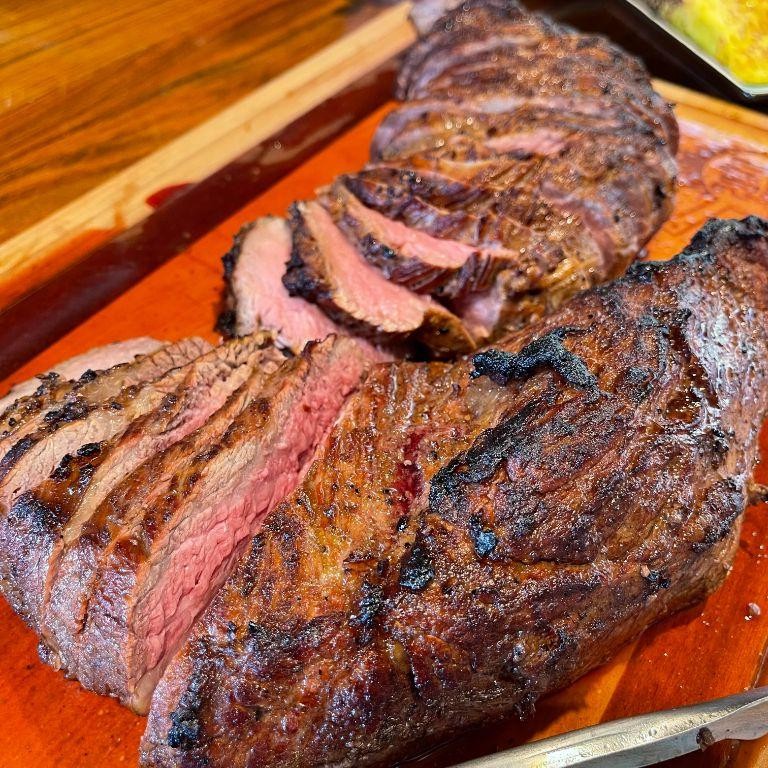
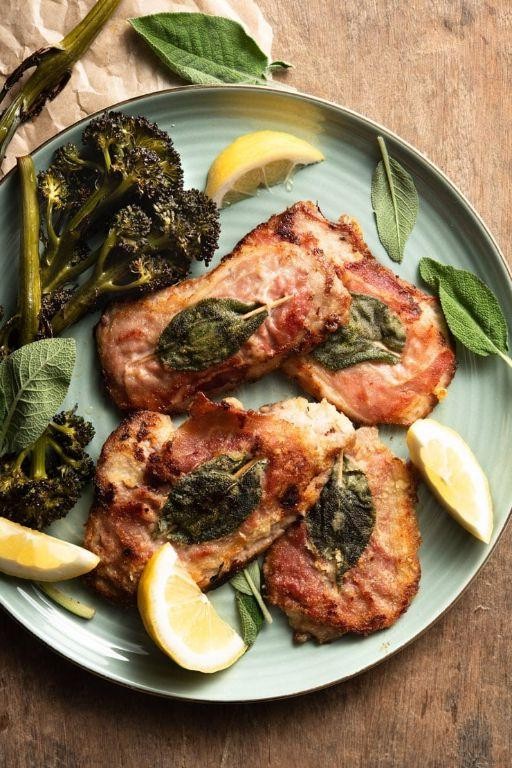
Garlic Herb Butter Chateaubriand
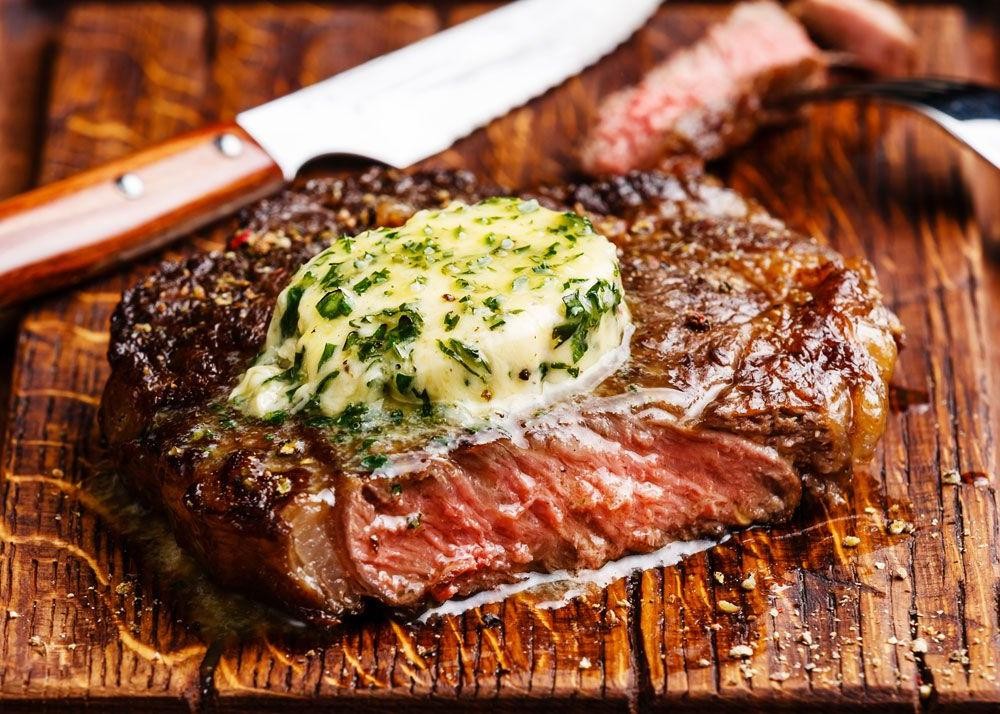
Elevate your dinner game with this rich and savory Garlic Herb Butter Chateaubriand recipe. This decadent dish is perfect for special occasions or a cozy night in.
Ingredients:
– 1 (1.5-2 pound) chateaubriand roast
– 1/4 cup unsalted butter, softened
– 3 cloves garlic, minced
– 2 tablespoons chopped fresh thyme
– 1 tablespoon chopped fresh rosemary
– Salt and pepper to taste
Instructions:
1. Preheat oven to 375°F (190°C).
2. In a small bowl, mix together softened butter, minced garlic, thyme, and rosemary.
3. Season the chateaubriand roast with salt and pepper.
4. Spread the garlic herb butter mixture evenly over the roast, making sure to cover all surfaces.
5. Place the roast on a baking sheet lined with parchment paper and put it in the oven.
6. Cook for 20-25 minutes per pound, or until the internal temperature reaches 130°F (54°C) for medium-rare.
Cooking Time: Approximately 40-50 minutes for a 1.5-pound roast.
Red Wine Reduction Chateaubriand
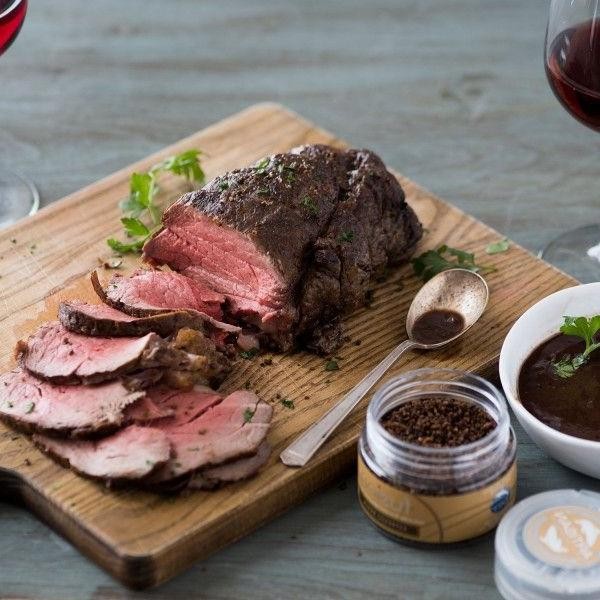
This classic French-inspired dish is a show-stopper, featuring tender beef tenderloin smothered in a rich and flavorful red wine reduction. Perfect for special occasions or romantic dinners.
Ingredients:
– 1 (1.5-2 pound) beef tenderloin
– 1 cup red wine (Cabernet Sauvignon or Merlot work well)
– 2 tablespoons butter
– 2 cloves garlic, minced
– 1 tablespoon all-purpose flour
– Salt and pepper to taste
– Fresh thyme leaves for garnish (optional)
Instructions:
1. Preheat oven to 400°F (200°C).
2. Season the beef tenderloin with salt and pepper.
3. Heat butter in a large skillet over medium-high heat. Sear the beef tenderloin until browned on all sides, about 2-3 minutes per side.
4. Transfer the skillet to the oven and roast for 15-20 minutes or until the beef reaches desired doneness.
5. While the beef is cooking, combine red wine, garlic, and flour in a small saucepan. Bring to a boil over high heat, then reduce heat to medium-low and simmer for 10-15 minutes or until the reduction thickens slightly.
6. Serve the beef tenderloin with the red wine reduction spooned over the top. Garnish with thyme leaves, if desired.
Cooking Time: About 30-40 minutes
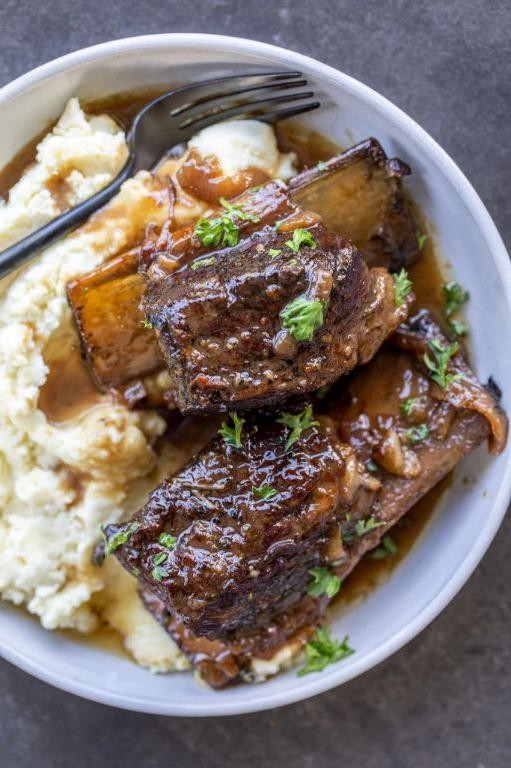
Chateaubriand with Truffle Mashed Potatoes
Experience the rich flavors of France with this decadent Chateaubriand recipe, paired with creamy truffle mashed potatoes. This indulgent dish is perfect for special occasions or romantic dinners.
Ingredients:
For the Chateaubriand:
– 1 (1.5-2 pound) filet mignon
– 2 tablespoons olive oil
– 1 tablespoon butter
– 1 clove garlic, minced
– 1 cup red wine
– 1 cup beef broth
– 1 teaspoon Dijon mustard
– Salt and pepper to taste
For the Truffle Mashed Potatoes:
– 3-4 large potatoes, peeled and chopped into 1-inch pieces
– 2 tablespoons unsalted butter
– 1/2 cup heavy cream
– 1 tablespoon truffle oil
– Salt and pepper to taste
Instructions:
1. Preheat oven to 400°F (200°C).
2. Season the filet mignon with salt, pepper, and garlic.
3. Heat olive oil in a skillet over medium-high heat; sear the filet for 2-3 minutes per side. Transfer to a baking dish and roast for 15-20 minutes or until desired doneness.
4. Prepare the truffle mashed potatoes: Boil potatoes until tender, then mash with butter, heavy cream, and truffle oil. Season with salt and pepper.
5. Serve the Chateaubriand with Truffle Mashed Potatoes.
Cooking Time: 35-40 minutes
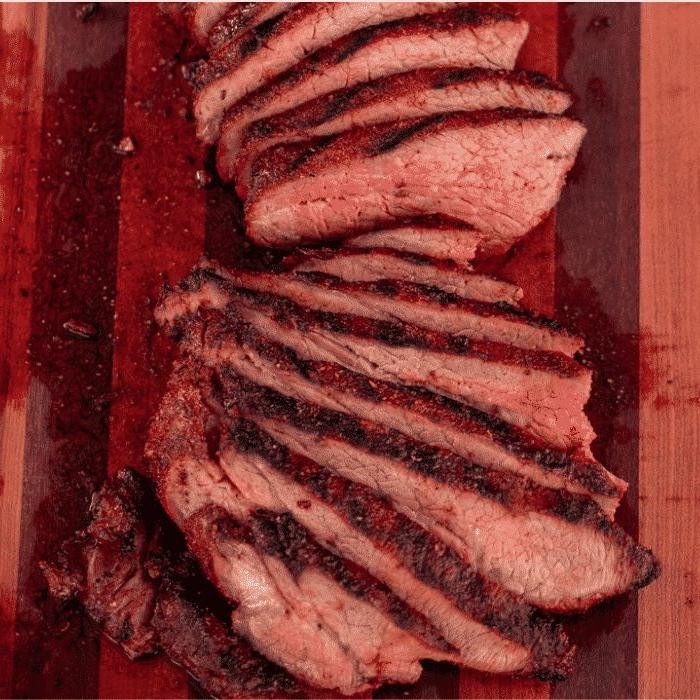
Rosemary and Thyme Roasted Chateaubriand
Elevate your roast game with this aromatic and flavorful recipe that combines the richness of chateaubriand with the earthy notes of rosemary and thyme.
Ingredients:
– 1 (2.5-3 pound) beef chateaubriand
– 2 tablespoons olive oil
– 4 sprigs fresh rosemary, chopped
– 2 sprigs fresh thyme, chopped
– 1 tablespoon honey
– Salt and pepper to taste
Instructions:
1. Preheat oven to 425°F (220°C).
2. In a small bowl, mix together olive oil, rosemary, thyme, and honey.
3. Place the chateaubriand on a roasting rack in a large roasting pan. Brush the herb mixture evenly over the beef, making sure to coat all surfaces.
4. Season with salt and pepper to taste.
5. Roast the chateaubriand in the preheated oven for 20-25 minutes per pound, or until it reaches your desired level of doneness.
6. Let the beef rest for 10-15 minutes before slicing and serving.
Cooking Time: Approximately 1 hour 45 minutes to 2 hours for a 2.5-pound chateaubriand.
Chateaubriand with Creamy Horseradish Sauce
Impress your guests with this classic Chateaubriand recipe, elevated by a tangy and creamy horseradish sauce. This dish is perfect for special occasions or romantic dinners.
Ingredients:
– 1 (1.5-2 pound) beef tenderloin
– 2 tablespoons olive oil
– 1 tablespoon butter
– 2 cloves garlic, minced
– 1 cup heavy cream
– 2 tablespoons prepared horseradish
– Salt and pepper to taste
– Fresh parsley or thyme for garnish (optional)
Instructions:
1. Preheat oven to 400°F (200°C).
2. Season the beef tenderloin with salt, pepper, and garlic.
3. Heat olive oil in an oven-safe skillet over medium-high heat. Sear the beef for 2-3 minutes per side.
4. Transfer the skillet to the preheated oven and cook for 12-15 minutes or until the beef reaches your desired level of doneness.
5. Meanwhile, mix heavy cream and horseradish in a small saucepan over low heat. Simmer until heated through.
6. Remove the beef from the oven and let it rest for 5 minutes before slicing.
7. Serve with the creamy horseradish sauce spooned over the top.
Cooking Time: 20-25 minutes
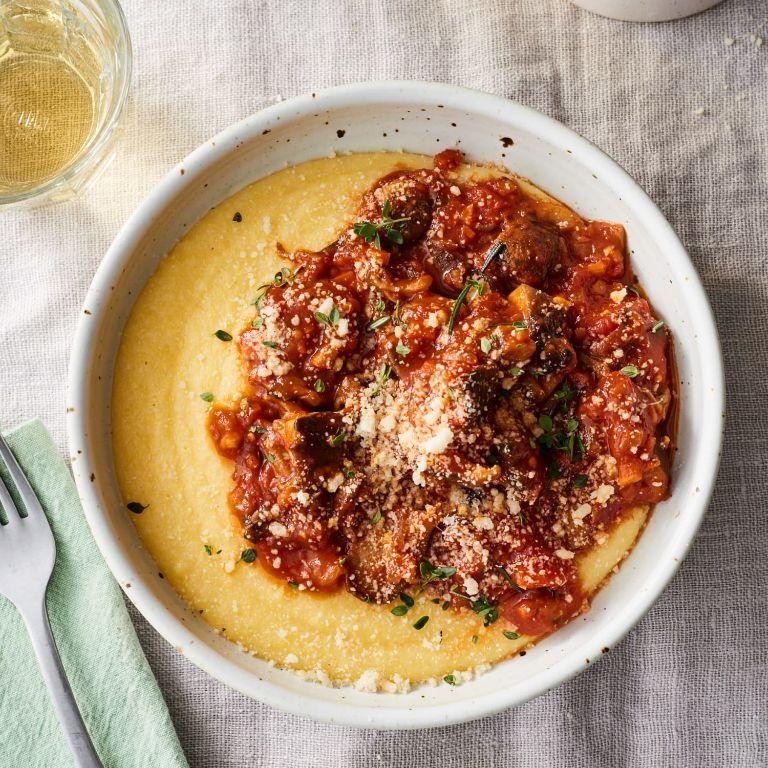
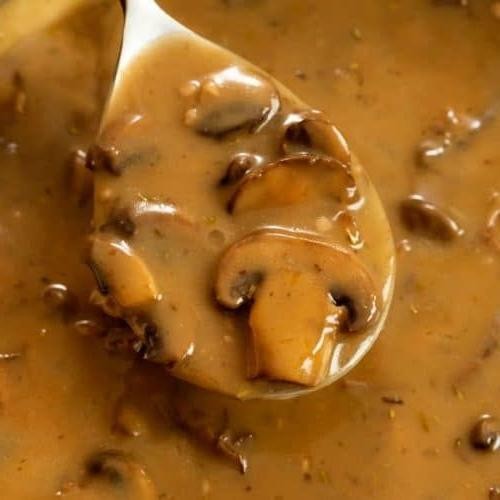
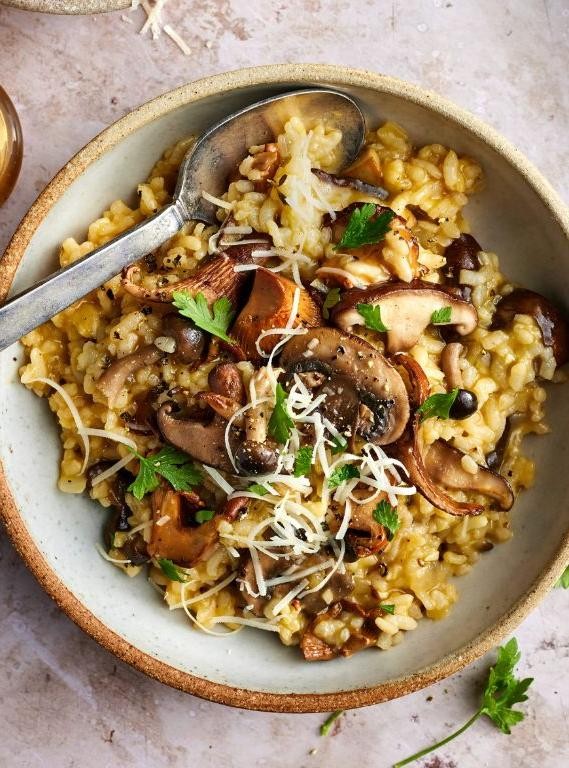
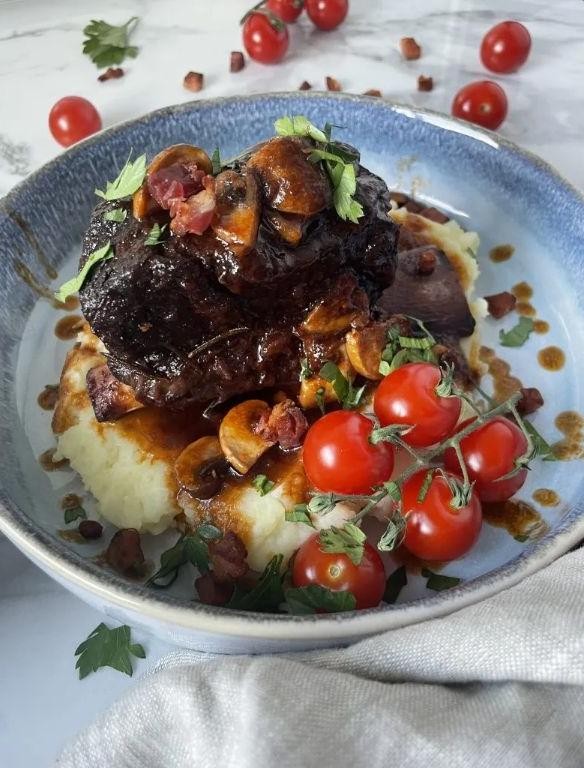
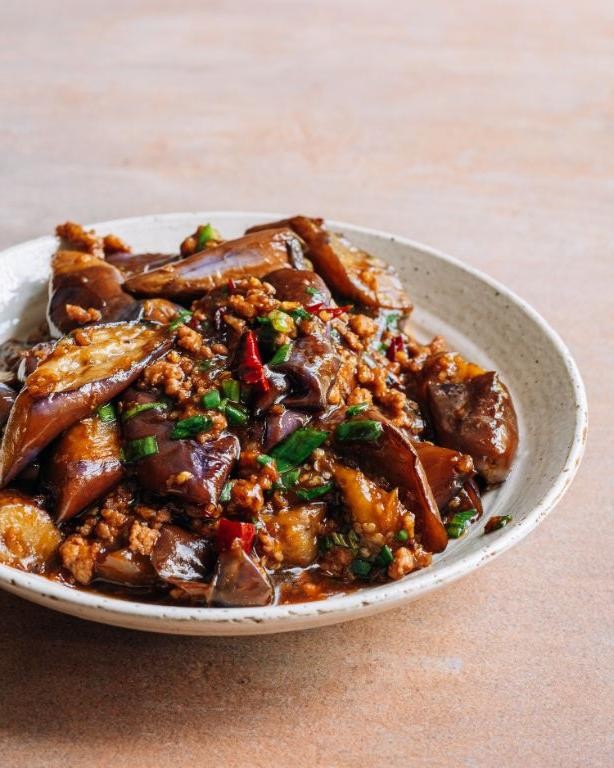
Pan-Seared Chateaubriand with Mushroom Ragout
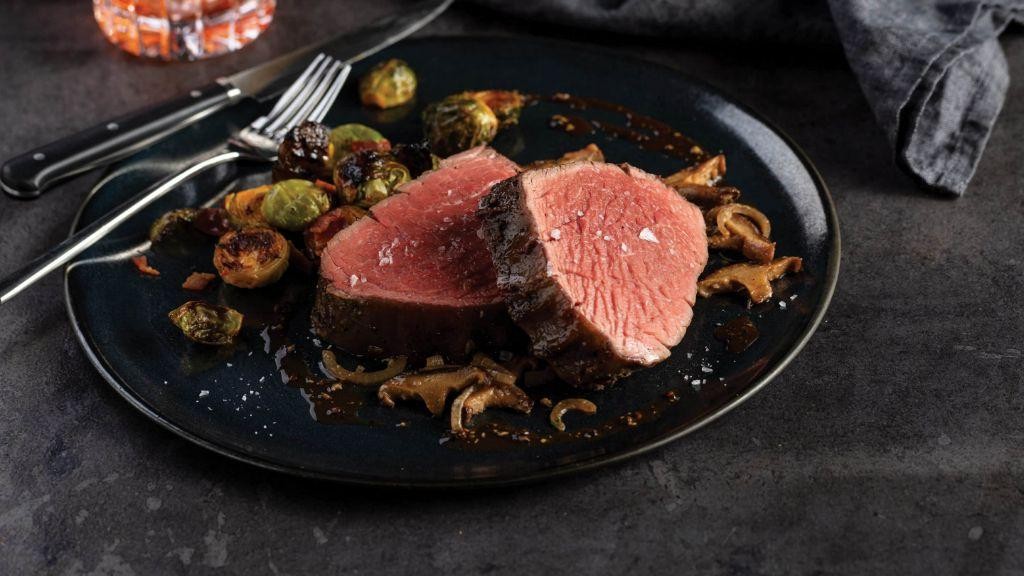
This recipe combines the tender and flavorful Chateaubriand steak with a rich and earthy mushroom ragout, perfect for a special occasion or romantic dinner.
Ingredients:
For the steak:
– 1 (6-8 oz) Chateaubriand steak
– Salt and pepper, to taste
For the mushroom ragout:
– 2 cups mixed mushrooms (button, cremini, shiitake), sliced
– 2 tablespoons butter
– 1 tablespoon olive oil
– 1 small onion, finely chopped
– 2 cloves garlic, minced
– 1/4 cup dry white wine
– 1/4 cup beef broth
– 1 teaspoon thyme
– Salt and pepper, to taste
Instructions:
1. Preheat the skillet over medium-high heat.
2. Season the steak with salt and pepper.
3. Sear the steak for 2-3 minutes per side, or until cooked to desired level of doneness.
4. Remove the steak from the skillet and let it rest.
5. In the same skillet, sauté the mushrooms in butter and olive oil until tender and fragrant.
6. Add the onion, garlic, white wine, and beef broth to the skillet. Simmer for 2-3 minutes or until the liquid has reduced slightly.
7. Serve the steak with the mushroom ragout spooned over the top.
Cooking Time:
– Steak: 10-12 minutes total
– Mushroom Ragout: 5-7 minutes
Chateaubriand with Blue Cheese Crust
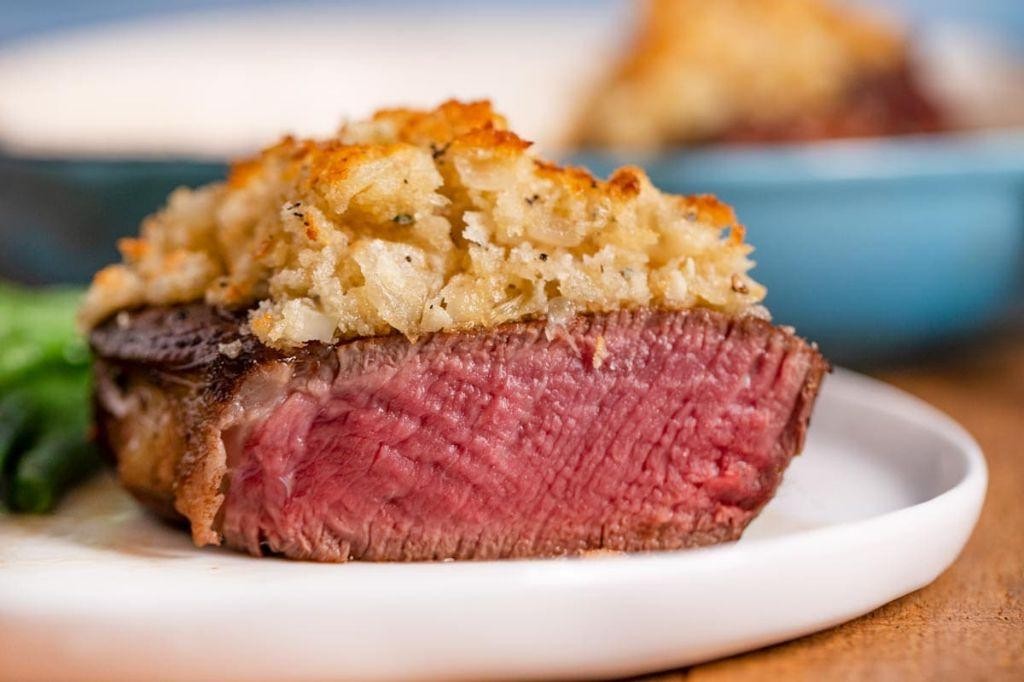
This recipe elevates the classic Chateaubriand dish by adding a tangy blue cheese crust, perfect for special occasions or dinner parties. This indulgent main course is sure to impress.
Ingredients:
– 1 (1.5-2 pound) beef tenderloin
– 1/4 cup blue cheese crumbles
– 1 tablespoon olive oil
– 1 tablespoon butter
– 1 clove garlic, minced
– Salt and pepper to taste
Instructions:
1. Preheat oven to 400°F (200°C).
2. Season the beef tenderloin with salt and pepper.
3. In a small bowl, mix together blue cheese crumbles, olive oil, butter, and garlic.
4. Wrap the blue cheese mixture around the beef tenderloin, pressing gently to adhere.
5. Place the beef on a baking sheet lined with parchment paper and bake for 20-25 minutes or until cooked to desired doneness.
6. Let rest for 10 minutes before slicing and serving.
Cooking Time: 20-25 minutes
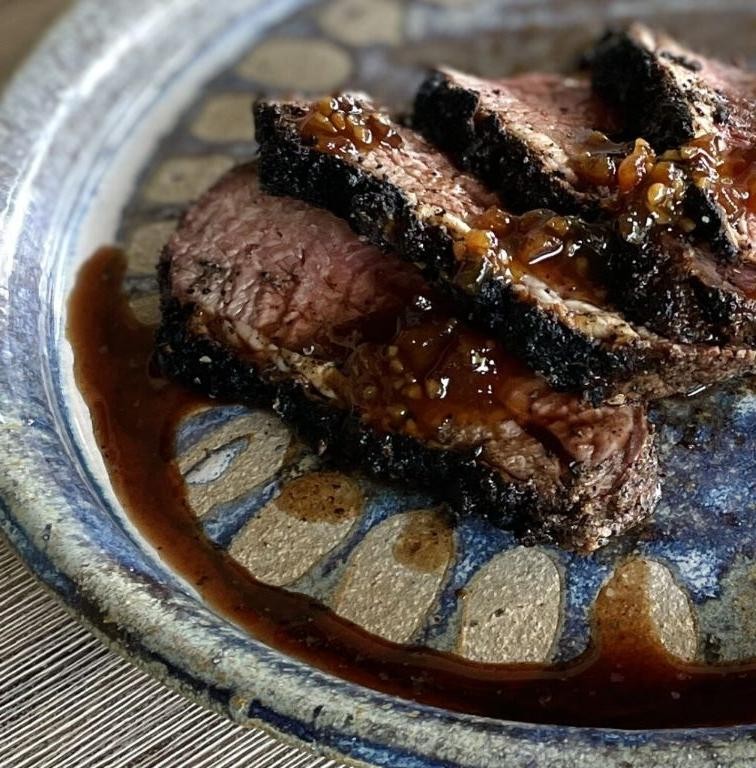
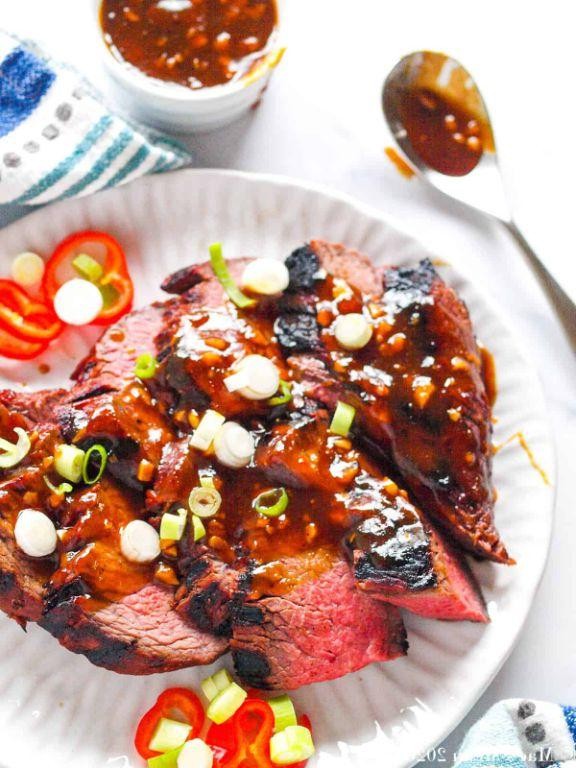
Chateaubriand with Red Wine and Shallot Sauce

This classic dish is a showstopper for any special occasion, featuring tender beef topped with a rich red wine and shallot sauce. With its bold flavors and elegant presentation, it’s sure to impress your guests.
Ingredients:
– 1 (1.5-2 pound) Chateaubriand roast
– 2 tablespoons olive oil
– 1 large onion, thinly sliced
– 3 cloves garlic, minced
– 1 cup red wine (Cabernet Sauvignon or Merlot work well)
– 1/2 cup beef broth
– 2 tablespoons butter
– 1 medium shallot, finely chopped
– Salt and pepper to taste
– Fresh parsley, chopped (optional)
Instructions:
1. Preheat oven to 400°F (200°C).
2. Season the Chateaubriand roast with salt and pepper.
3. Heat olive oil in a large skillet over medium-high heat. Sear the roast for 2-3 minutes per side, then transfer it to a roasting pan.
4. In the same skillet, cook onion and garlic until caramelized (about 10 minutes).
5. Add red wine and beef broth to the skillet, scraping up any browned bits. Bring mixture to a simmer.
6. Reduce heat to low and add butter and shallot. Simmer for an additional 5-7 minutes or until sauce has thickened slightly.
7. Serve Chateaubriand with spoonful of red wine and shallot sauce spooned over the top. Garnish with chopped parsley if desired.
Cooking Time:
– Roast: 20-25 minutes per pound
– Sauce: 15-20 minutes
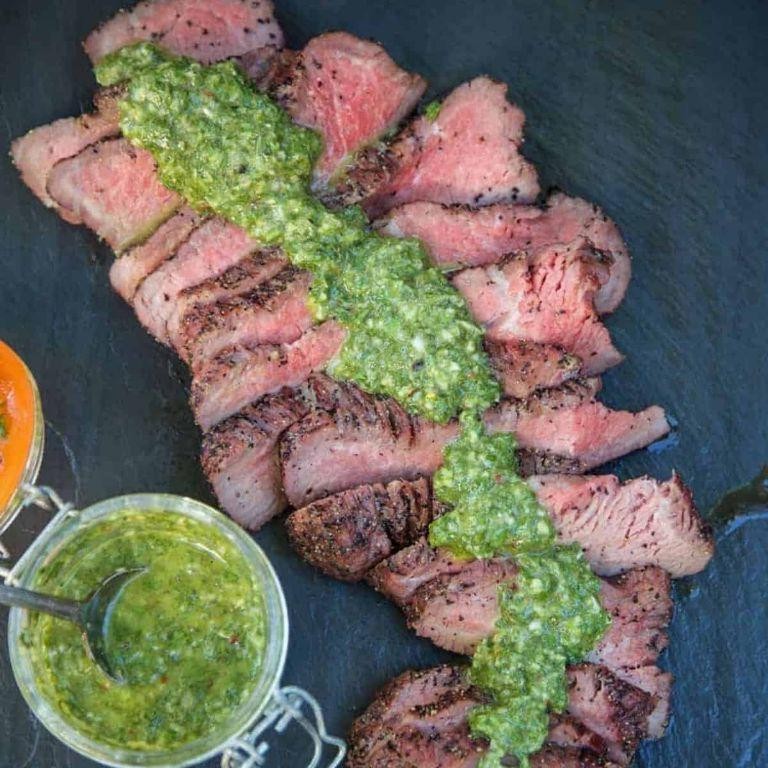
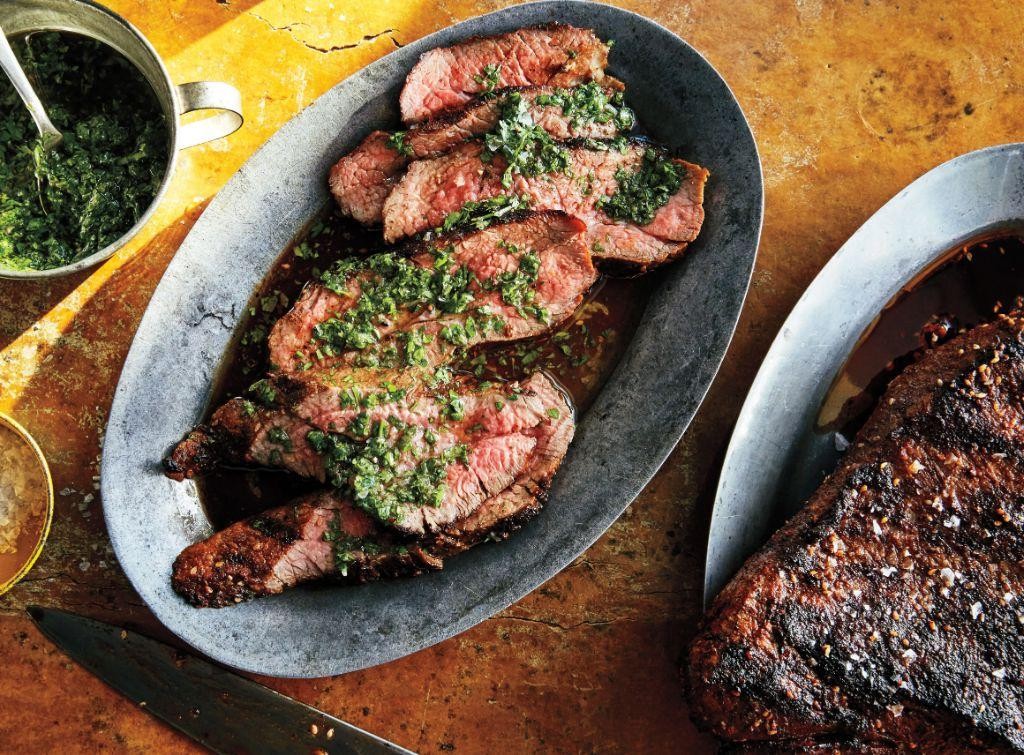
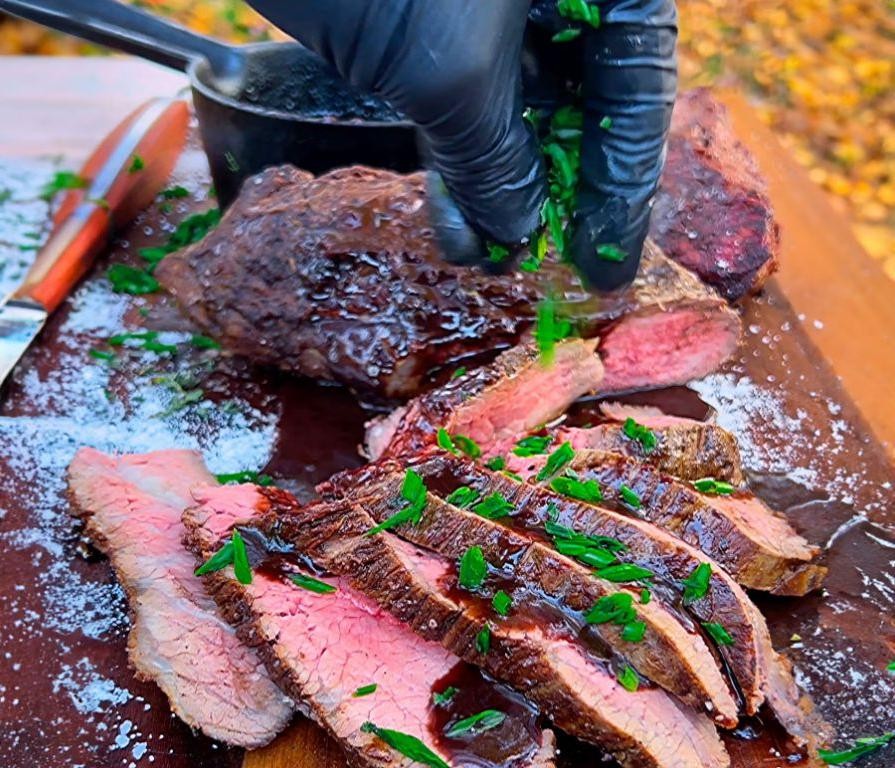
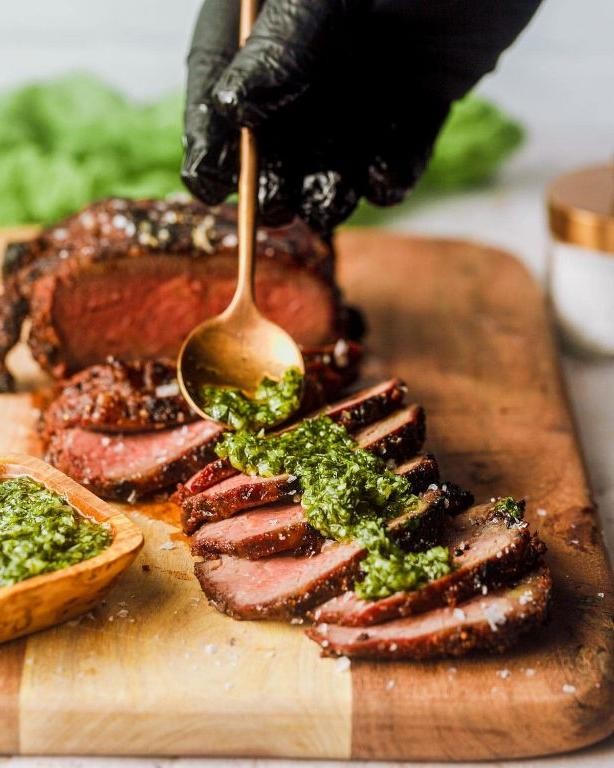
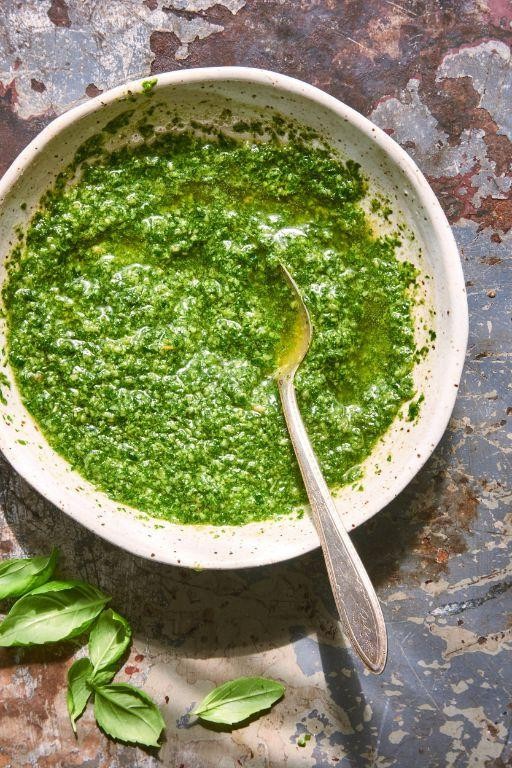
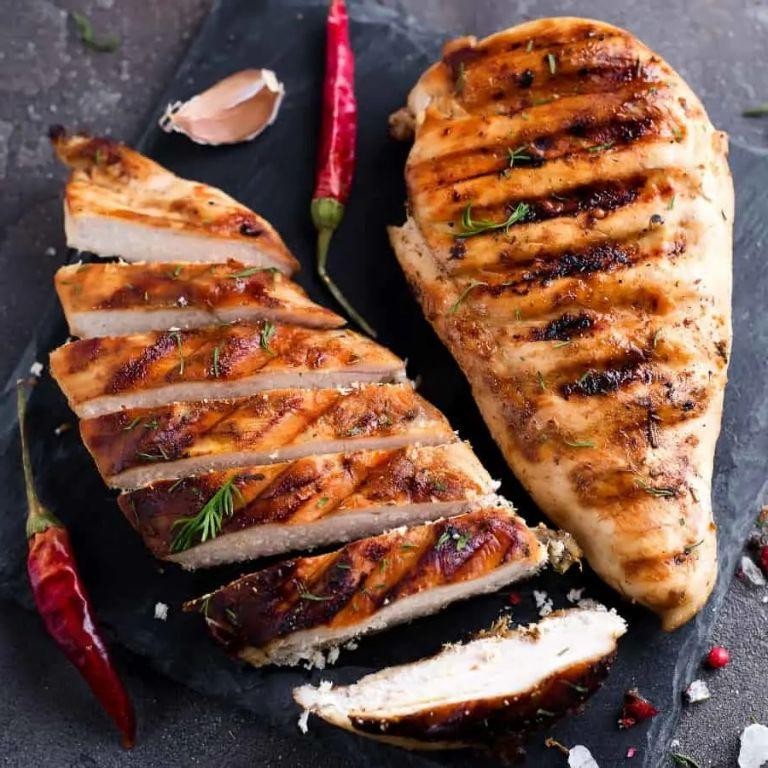
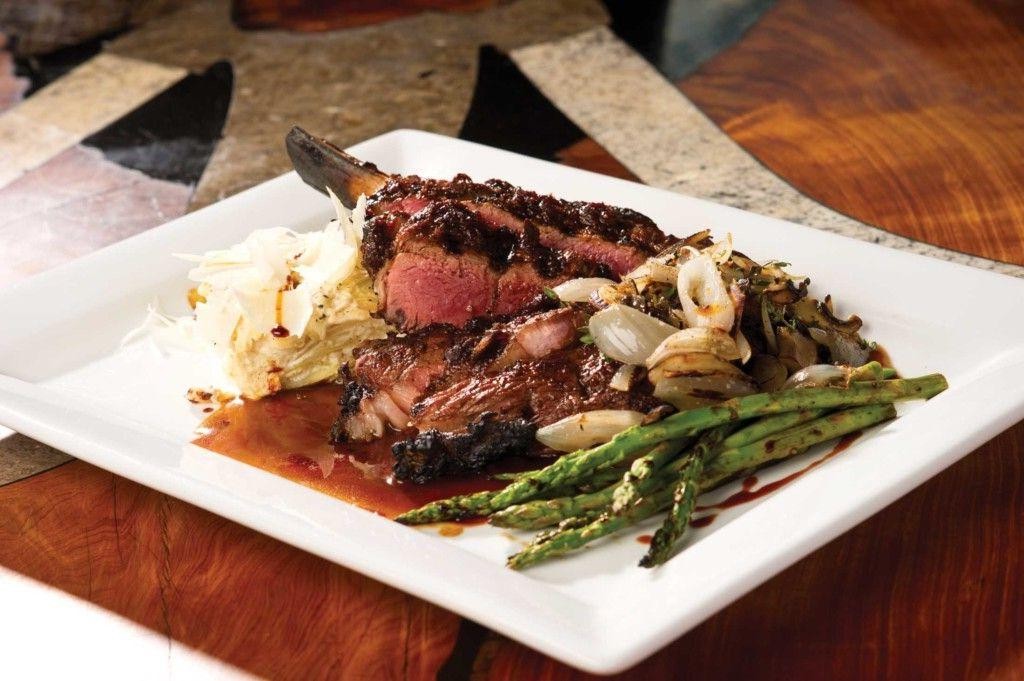
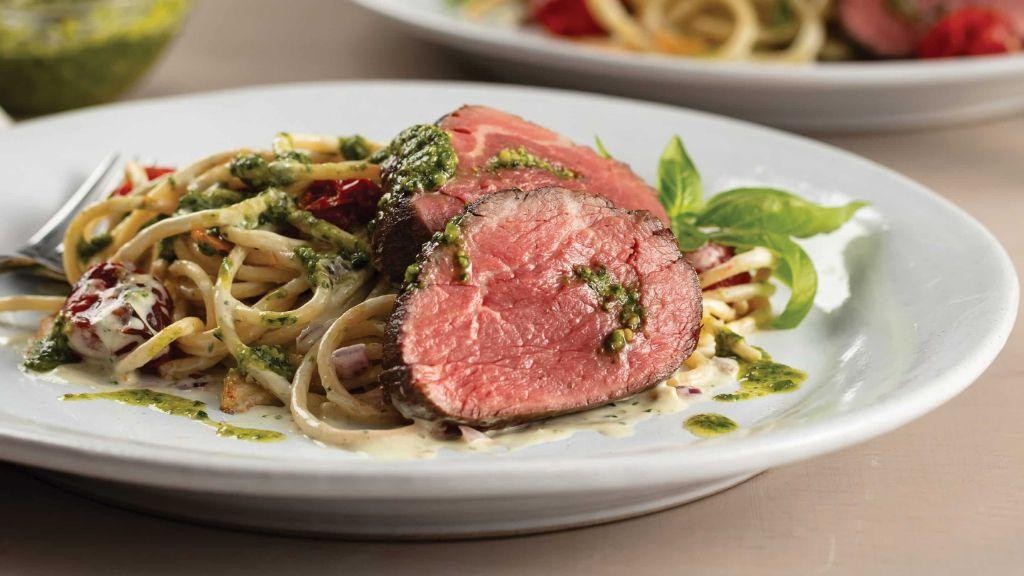
Grilled Chateaubriand with Chimichurri
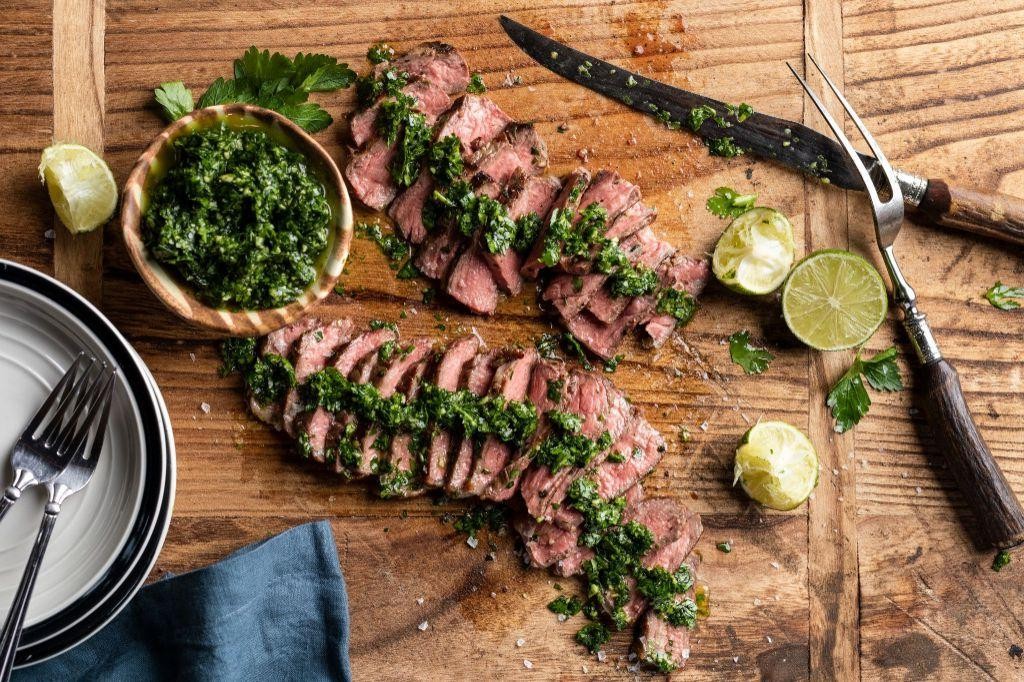
This recipe combines the tender and rich flavors of chateaubriand steak with the bright, herby notes of chimichurri sauce. Perfect for special occasions or a romantic dinner.
Ingredients:
– 1 (1.5-2 pound) chateaubriand steak
– 1/4 cup olive oil
– 1/4 cup fresh parsley, chopped
– 1/4 cup fresh oregano, chopped
– 2 cloves garlic, minced
– 2 tablespoons freshly squeezed lime juice
– Salt and pepper to taste
Instructions:
1. Preheat grill to medium-high heat.
2. In a small bowl, mix together olive oil, parsley, oregano, garlic, and lime juice.
3. Season the chateaubriand steak with salt and pepper.
4. Grill the steak for 4-5 minutes per side, or until it reaches desired level of doneness.
5. Let the steak rest for 5 minutes before slicing.
6. Serve with chimichurri sauce spooned over the top.
Cooking Time: 12-15 minutes
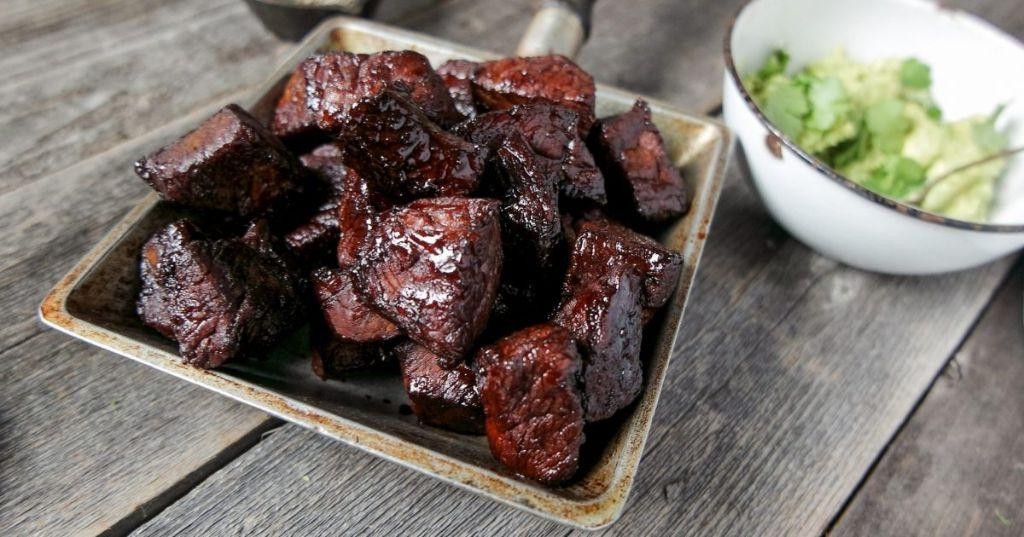
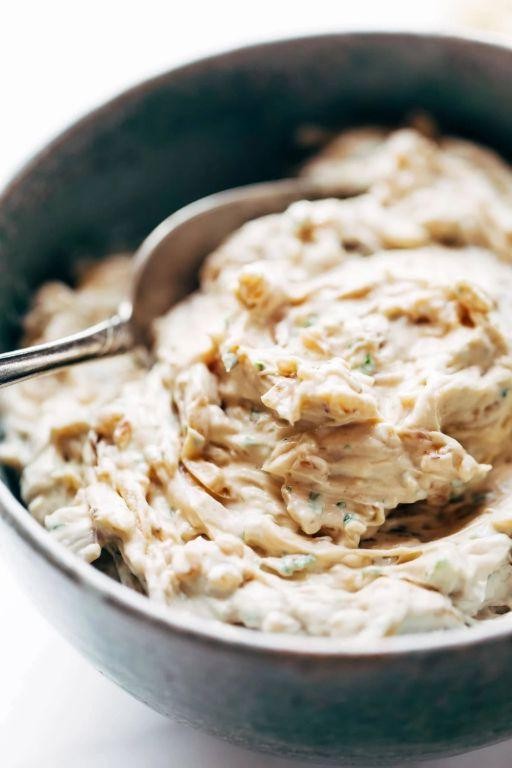
Chateaubriand with Caramelized Onions
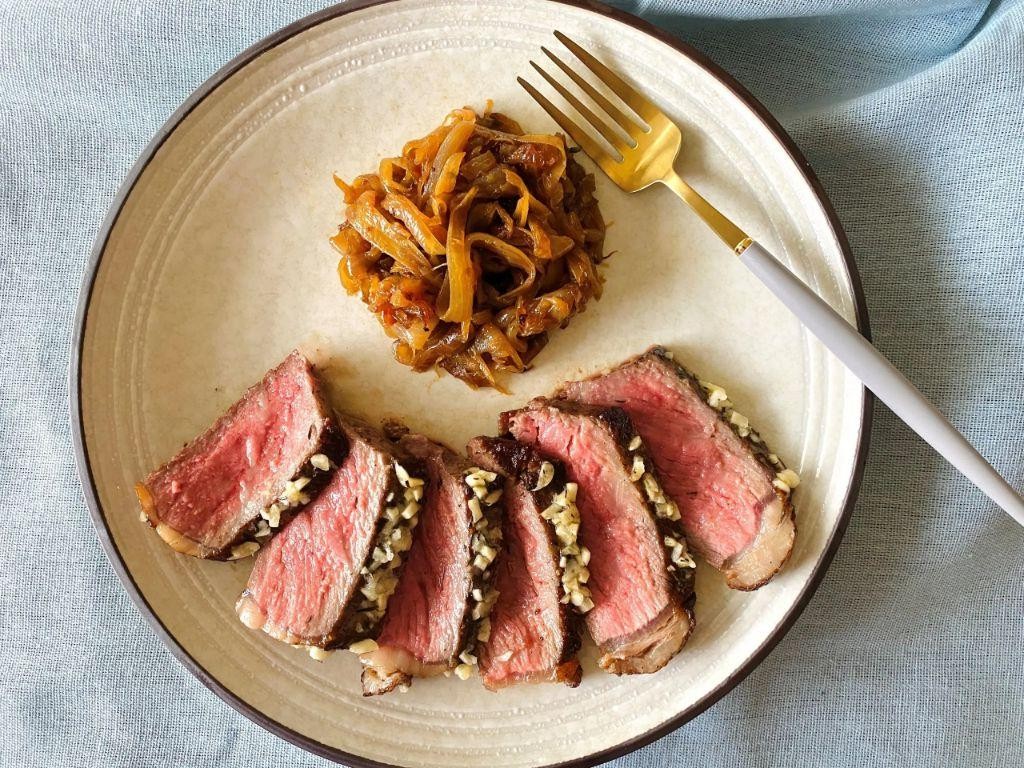
This recipe combines the tenderloin of beef with sweet and savory caramelized onions, creating a flavorful and impressive main course.
Ingredients:
– 1 (1.5-2 pound) beef tenderloin
– 2 large onions, thinly sliced
– 2 tablespoons olive oil
– 1 tablespoon butter
– Salt and pepper to taste
– Fresh parsley, chopped (optional)
Instructions:
1. Preheat oven to 400°F (200°C).
2. In a large skillet, cook the beef tenderloin over medium-high heat for 2-3 minutes on each side, or until browned.
3. Transfer the beef to a baking sheet and roast in the preheated oven for 15-20 minutes, or until cooked to your desired level of doneness.
4. While the beef is cooking, caramelize the onions: In the same skillet used for the beef, add olive oil and butter over medium-low heat. Cook the onions, stirring occasionally, for 30-40 minutes, or until they are dark golden brown and caramelized.
5. Slice the roasted beef against the grain and serve with the caramelized onions.
Cooking Time: approximately 45-50 minutes
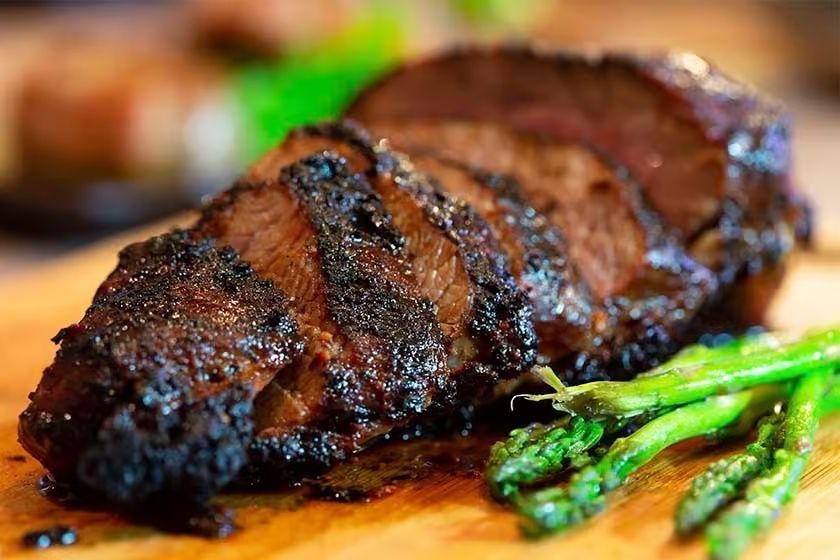
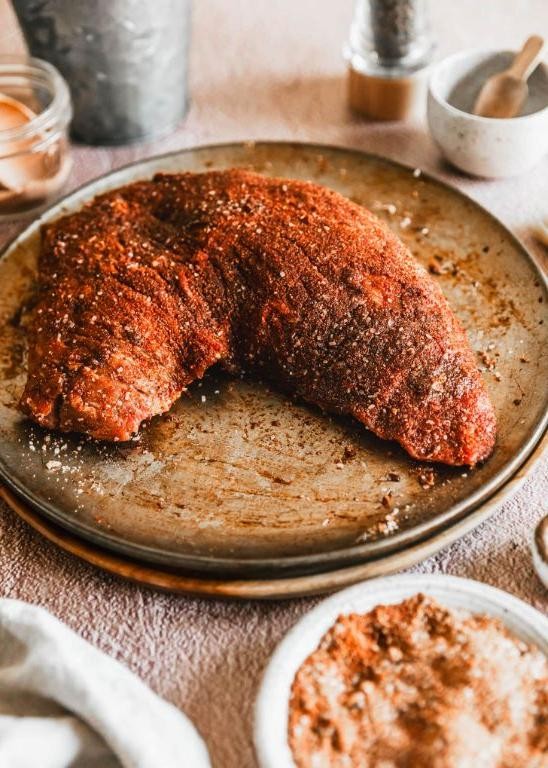
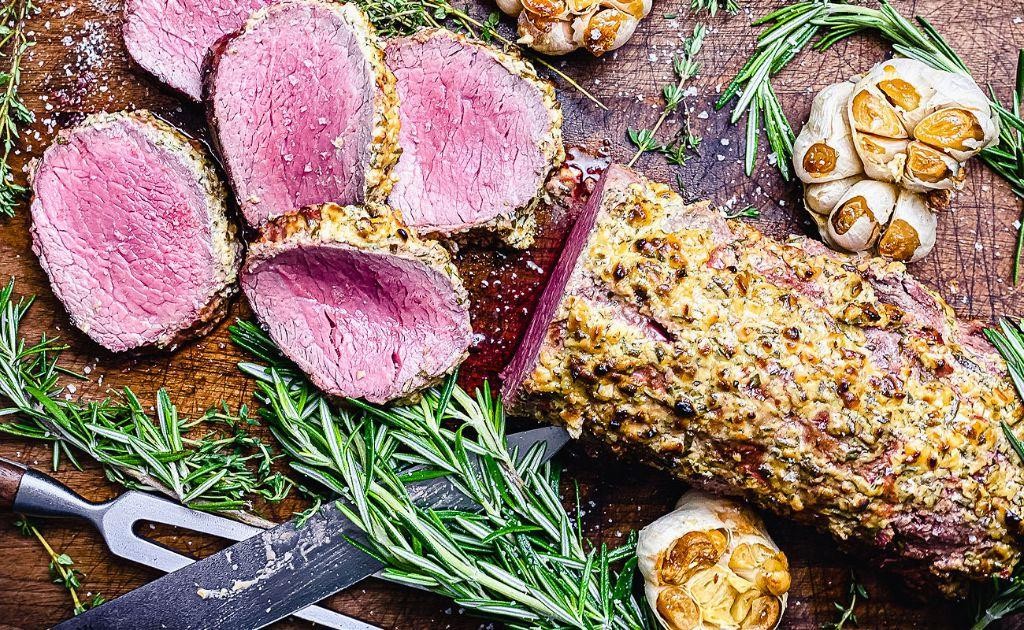
Chateaubriand with Garlic and Herb Crust
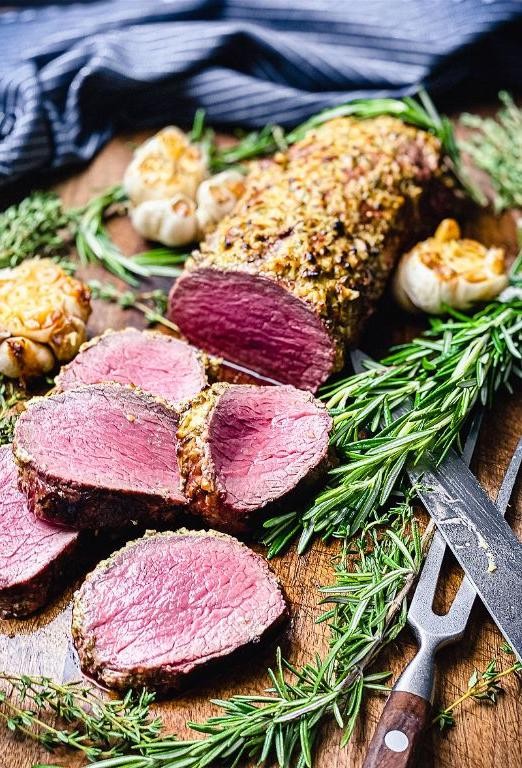
Impress your dinner guests with this indulgent Chateaubriand recipe, topped with a savory garlic and herb crust. This classic French dish is sure to please even the most discerning palates.
Ingredients:
– 1 (1.5-2 pound) beef tenderloin
– 4 cloves of garlic, minced
– 2 tablespoons unsalted butter, softened
– 1 tablespoon chopped fresh thyme
– 1 tablespoon chopped fresh rosemary
– 1 teaspoon paprika
– Salt and pepper to taste
Instructions:
1. Preheat oven to 400°F (200°C).
2. In a small bowl, mix together garlic, butter, thyme, rosemary, and paprika.
3. Season the beef tenderloin with salt and pepper.
4. Spread the garlic-herb mixture evenly over the beef, leaving a 1-inch border around edges.
5. Roast the Chateaubriand in the preheated oven for 20-25 minutes per pound, or until it reaches desired doneness (145°F/63°C for medium-rare).
6. Let the steak rest for 10 minutes before slicing and serving.
Cooking Time: 45-60 minutes
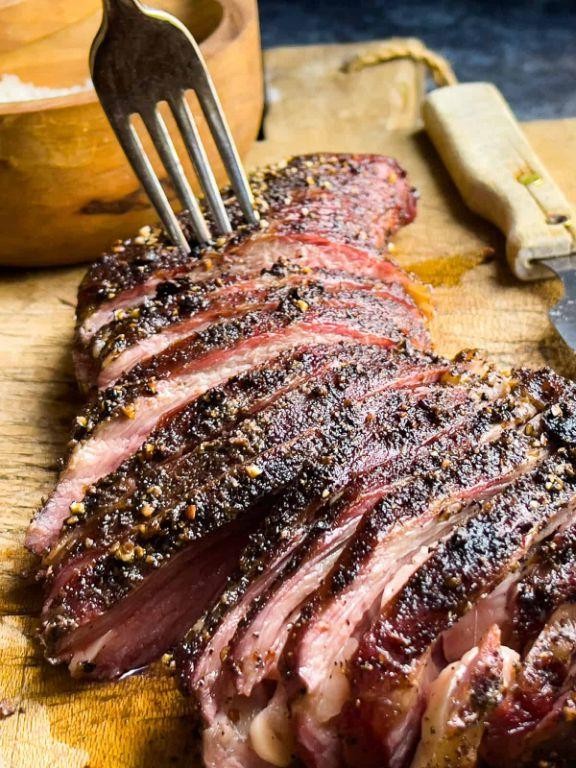
Chateaubriand with Peppercorn Sauce
Elevate your dinner game with this decadent Chateaubriand recipe, paired with a rich and creamy peppercorn sauce. This elegant dish is perfect for special occasions or romantic dinners.
Ingredients:
– 1 (1.5-2 pound) beef tenderloin
– 2 tablespoons olive oil
– 1 teaspoon salt
– 1/4 teaspoon black pepper
– 1 cup heavy cream
– 2 tablespoons unsalted butter
– 2 teaspoons white peppercorns, crushed
– 2 cloves garlic, minced
Instructions:
1. Preheat oven to 400°F (200°C).
2. Season the beef tenderloin with salt and black pepper.
3. Heat olive oil in an oven-safe skillet over medium-high heat. Sear the beef for 2-3 minutes per side, then transfer to the preheated oven.
4. Cook the beef for 15-20 minutes, or until it reaches your desired level of doneness.
5. Meanwhile, combine heavy cream, butter, crushed peppercorns, and garlic in a saucepan over medium heat. Simmer for 5-7 minutes, stirring occasionally, until the sauce thickens slightly.
6. Serve the beef tenderloin with the warm peppercorn sauce spooned over the top.
Cooking Time: 25-30 minutes
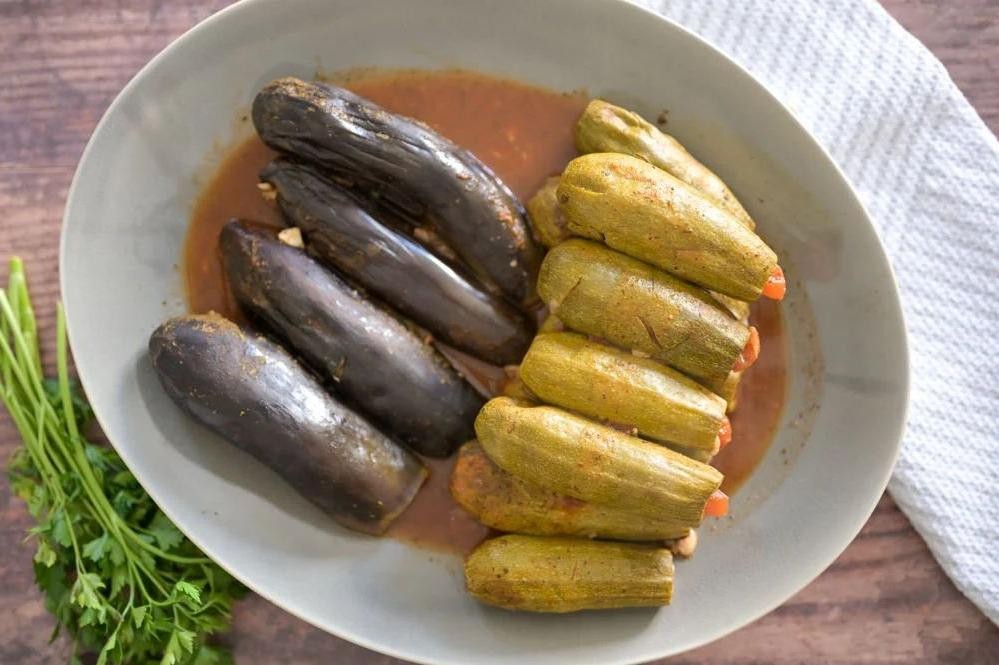
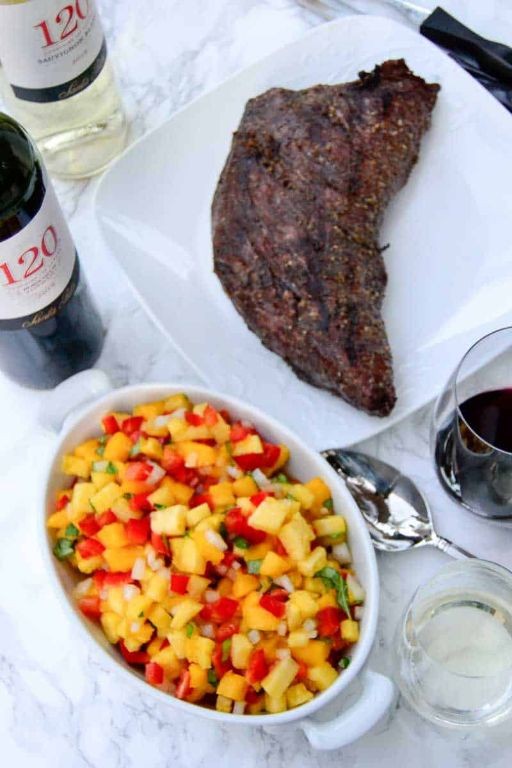
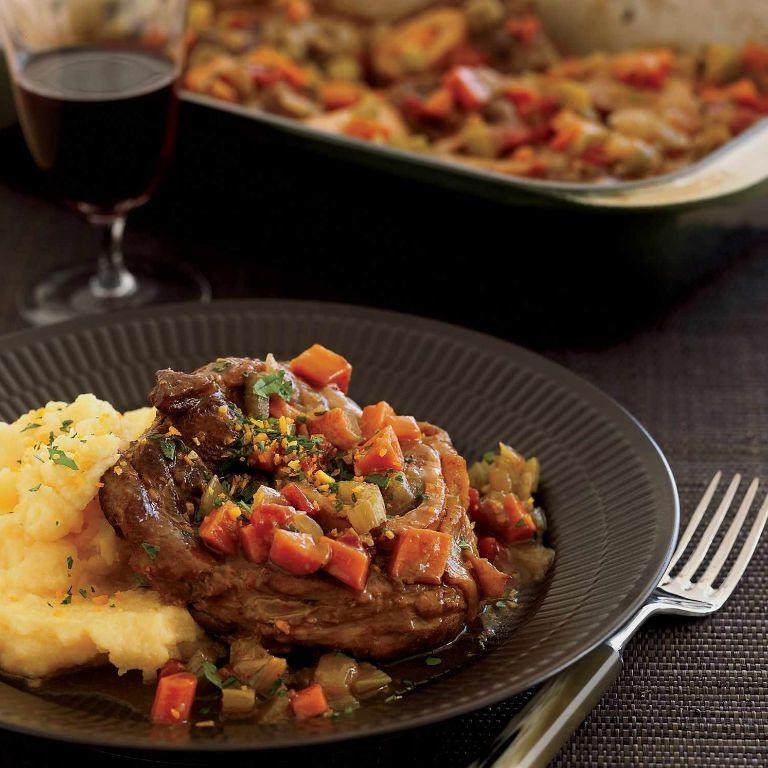
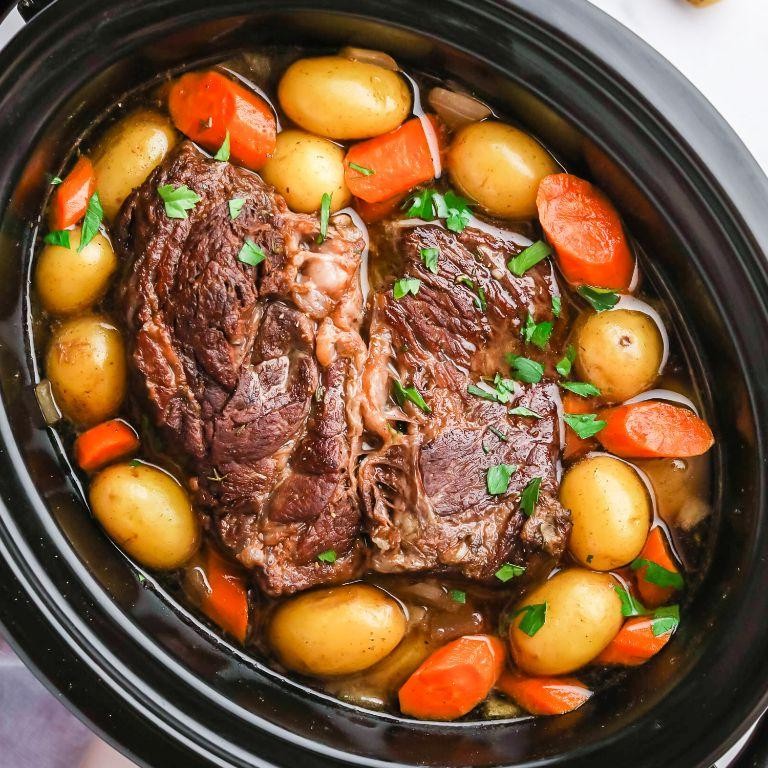
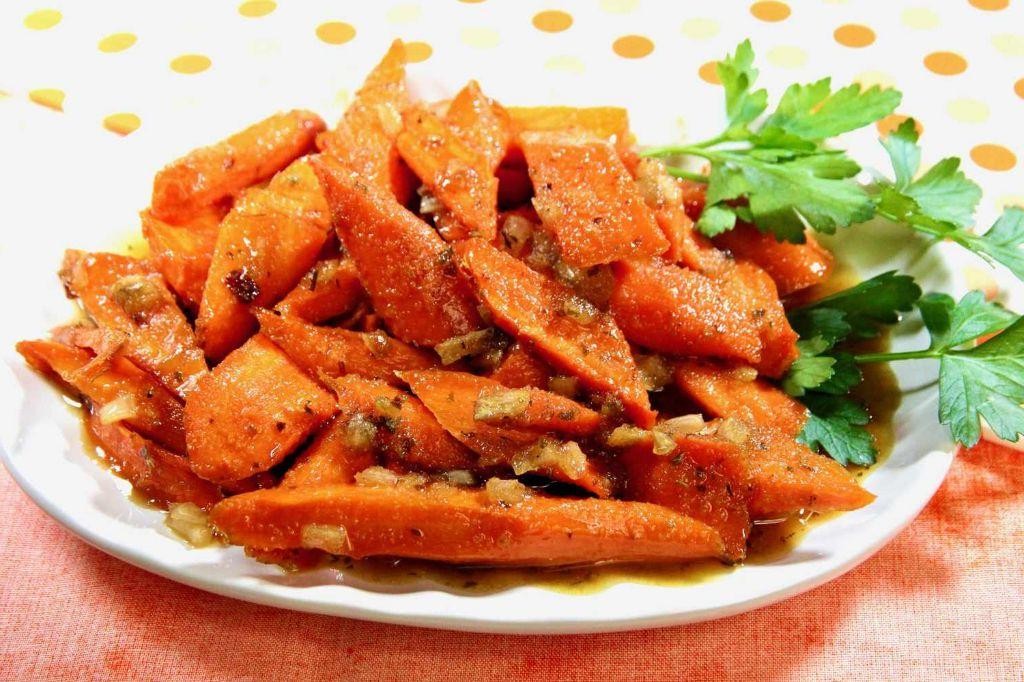
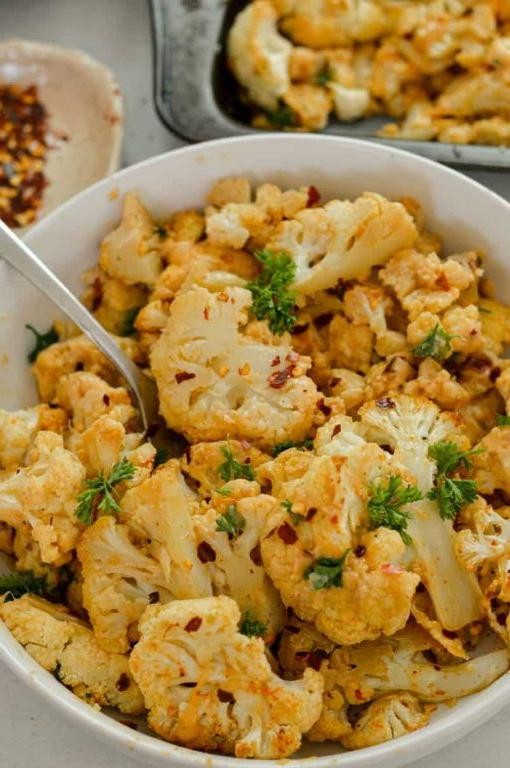
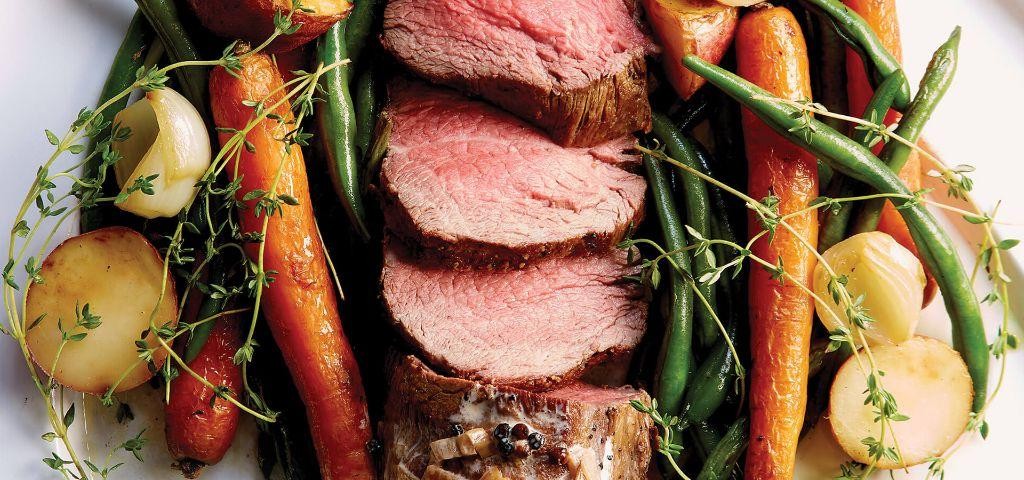
Chateaubriand with Roasted Vegetables

This classic French recipe is a perfect centerpiece for any special occasion. Tenderloin beef, roasted to perfection and served with a colorful medley of vegetables, will impress your guests.
Ingredients:
– 1 (6-8 oz) filet mignon
– 2 tbsp olive oil
– 1 tsp salt
– 1/2 tsp black pepper
– 1 large red bell pepper, seeded and sliced
– 1 large yellow bell pepper, seeded and sliced
– 1 large zucchini, sliced
– 1 large eggplant, sliced
– 2 cloves garlic, minced
Instructions:
1. Preheat oven to 400°F (200°C).
2. Season the filet mignon with salt and black pepper.
3. Heat olive oil in a skillet over medium-high heat. Sear the beef for 1-2 minutes per side, then transfer to a baking sheet.
4. Roast the beef in the oven for 12-15 minutes or until it reaches your desired level of doneness.
5. Toss the bell peppers, zucchini, and eggplant with olive oil, salt, and pepper on a separate baking sheet.
6. Roast the vegetables in the oven for 20-25 minutes or until tender.
7. Serve the Chateaubriand with roasted vegetables and garlic.
Cooking Time: 35-40 minutes
Chateaubriand with Mustard and Dill Sauce

A classic French dish gets a tangy twist with this mustard and dill sauce, perfect for special occasions or everyday indulgence.
Ingredients:
– 1 (1.5-2 pound) beef tenderloin
– 2 tablespoons butter
– 1/4 cup Dijon mustard
– 2 tablespoons chopped fresh dill
– 1 tablespoon lemon juice
– Salt and pepper, to taste
Instructions:
1. Preheat oven to 400°F (200°C).
2. Season the beef tenderloin with salt and pepper.
3. In a hot skillet, sear the beef on all sides until browned, about 2-3 minutes per side.
4. Transfer the beef to a baking dish and roast in the preheated oven for 20-25 minutes, or until it reaches your desired level of doneness.
5. Meanwhile, mix together the butter, Dijon mustard, chopped dill, and lemon juice in a small bowl.
6. Once the beef is cooked, let it rest for 5 minutes before slicing.
7. Serve the sliced beef with the mustard and dill sauce spooned over the top.
Cooking Time: 25-30 minutes
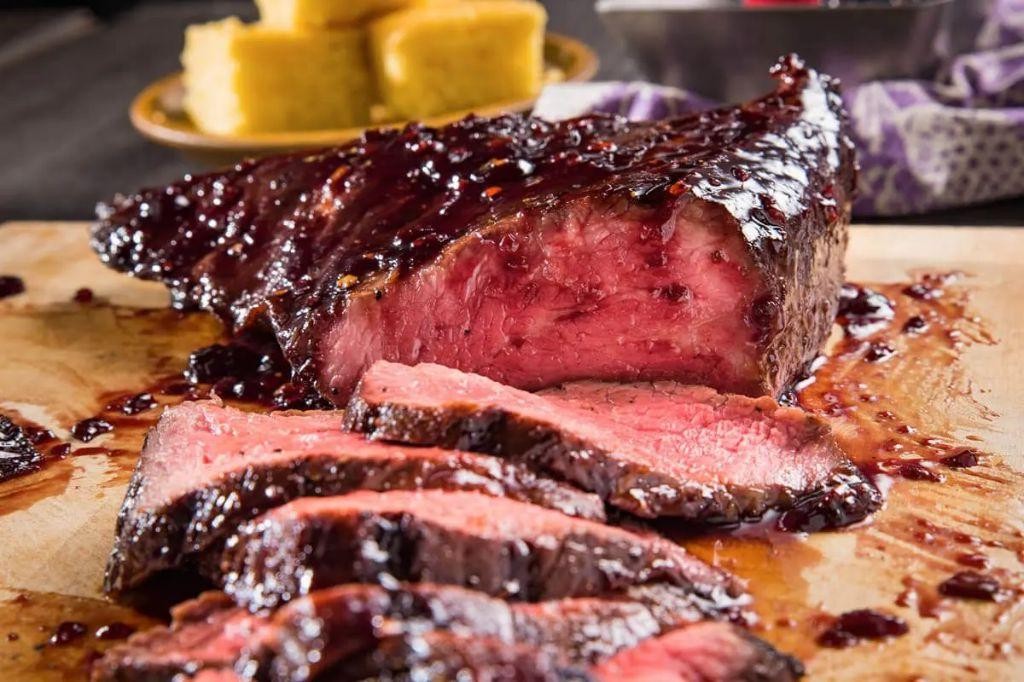
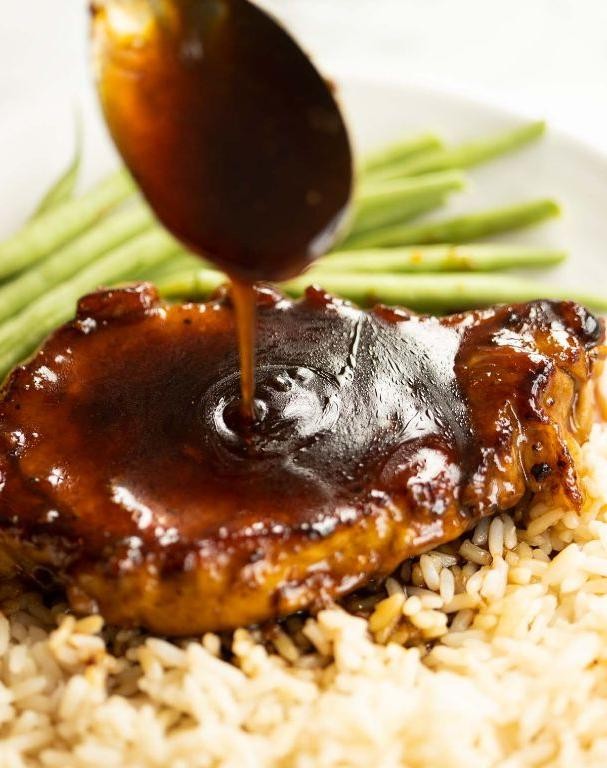
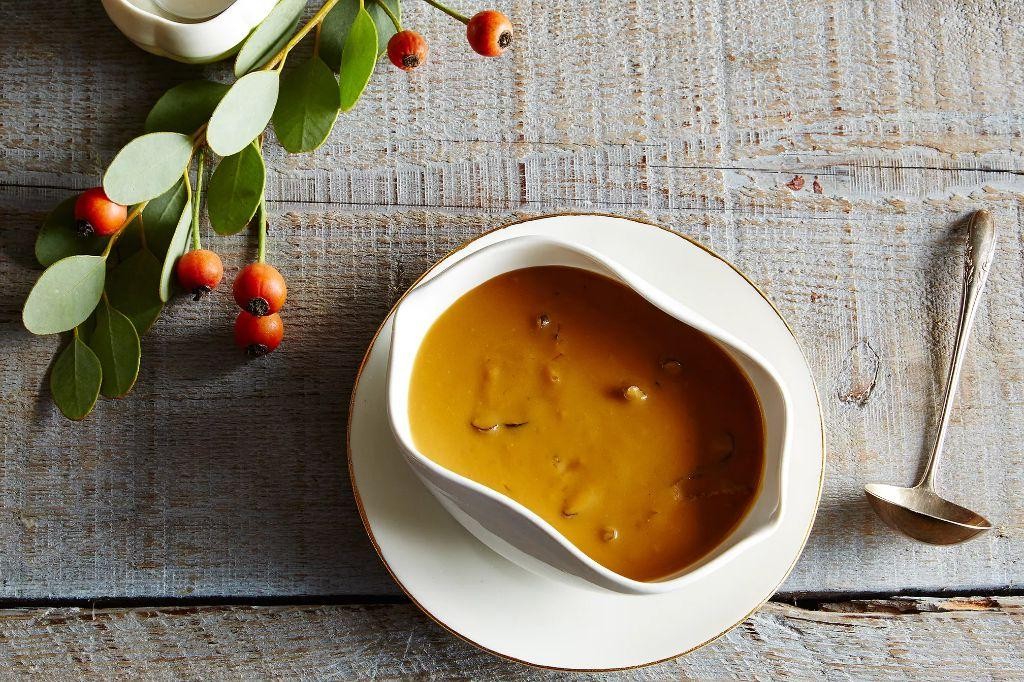
Chateaubriand with Bordelaise Sauce
Savor the classic flavors of French cuisine with this mouthwatering recipe, featuring tender beef tenderloin smothered in a rich and tangy red wine sauce.
Ingredients:
– 1 (1.5-2 pound) beef tenderloin
– Salt and pepper, to taste
– 2 tablespoons butter
– 1 cup red wine (Bordeaux or similar)
– 1/4 cup beef broth
– 2 tablespoons all-purpose flour
– 2 tablespoons Dijon mustard
– Fresh thyme leaves, for garnish
Instructions:
1. Preheat oven to 400°F (200°C).
2. Season the beef tenderloin with salt and pepper.
3. Melt butter in a large skillet over medium-high heat. Sear the beef until browned on all sides, about 2-3 minutes per side. Remove from heat and let rest.
4. Reduce heat to medium-low. Add red wine, beef broth, flour, and mustard to the skillet. Whisk until smooth, bringing to a simmer.
5. Return the beef to the skillet and spoon some of the sauce over it. Transfer the skillet to the oven and cook for 15-20 minutes or until the beef reaches desired doneness.
6. Remove from the oven and let rest for 5 minutes before slicing and serving. Garnish with fresh thyme leaves, if desired.
Cooking Time: Approximately 30-40 minutes
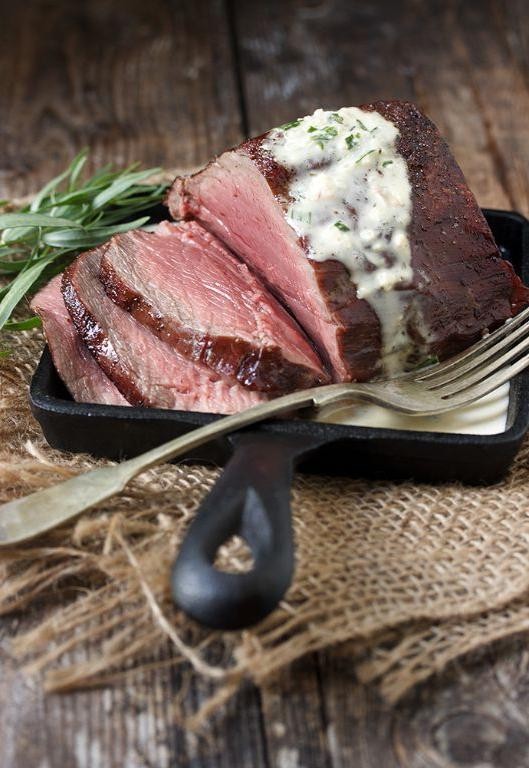
Chateaubriand with Tarragon Butter

This elegant recipe showcases the tender and flavorful Chateaubriand cut, paired with a fragrant tarragon butter that adds depth and sophistication. Perfect for special occasions or dinner parties.
Ingredients:
– 1 (1.5-2 pound) beef tenderloin
– 1/4 cup unsalted butter, softened
– 2 tablespoons fresh tarragon leaves, chopped
– Salt and pepper to taste
– Fresh parsley, chopped (optional)
Instructions:
1. Preheat oven to 400°F (200°C).
2. Season the beef tenderloin with salt and pepper.
3. In a small bowl, mix together softened butter and chopped tarragon leaves.
4. Place the beef on a baking sheet lined with parchment paper and top with the tarragon butter.
5. Roast in the preheated oven for 20-25 minutes or until the internal temperature reaches 130°F (54°C) for medium-rare.
6. Remove from the oven and let rest for 10 minutes before slicing and serving.
Cooking Time: 20-25 minutes
Chateaubriand with Red Wine and Garlic Reduction
This classic French dish is a showstopper, featuring tender beef filet mignon cooked to perfection and served with a rich, flavorful red wine and garlic reduction.
Ingredients:
– 1 (6-8 oz) beef filet mignon
– 1/2 cup red wine (such as Cabernet Sauvignon or Merlot)
– 2 cloves garlic, minced
– 2 tbsp butter
– Salt and pepper, to taste
– Fresh thyme leaves, for garnish
Instructions:
1. Preheat oven to 400°F (200°C).
2. Season the beef filet mignon with salt and pepper.
3. Heat butter in a large skillet over medium-high heat. Sear the beef for 2-3 minutes per side, or until browned. Transfer to a baking dish.
4. In the same skillet, add minced garlic and cook for 1 minute, or until fragrant.
5. Add red wine to the skillet, scraping up any browned bits from the bottom. Bring to a simmer and cook until reduced by half, about 5 minutes.
6. Serve the beef filet mignon with the red wine and garlic reduction spooned over the top. Garnish with fresh thyme leaves.
Cooking Time: 15-20 minutes
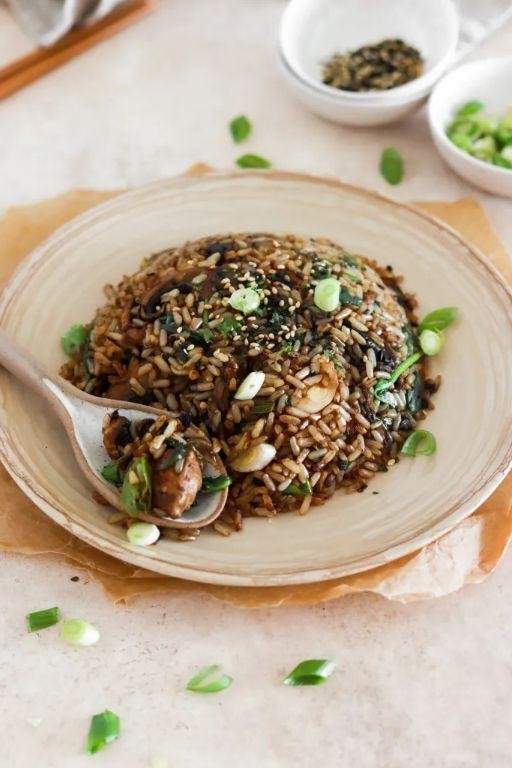
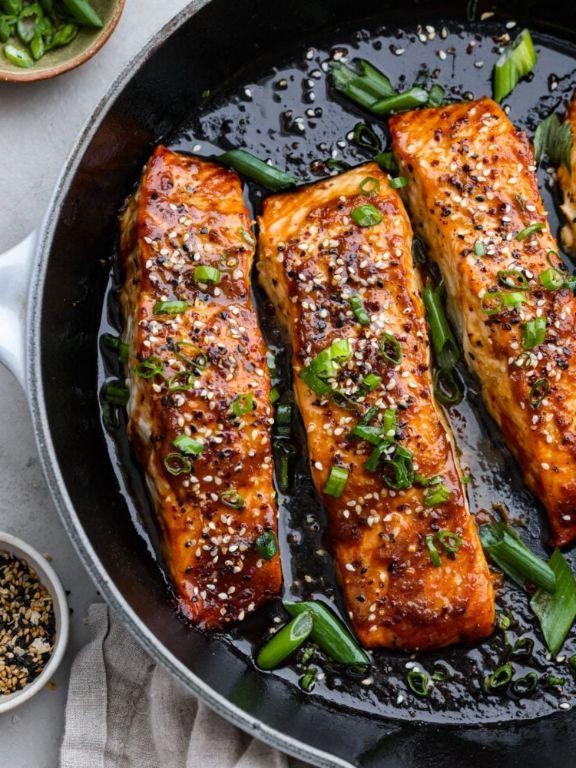
Chateaubriand with Sautéed Spinach and Garlic
This classic French dish is a show-stopper, featuring tenderloin steak cooked to perfection and served with a flavorful spinach and garlic sauce. With its rich flavors and impressive presentation, it’s perfect for special occasions or dinner parties.
Ingredients:
– 1 (1.5-2 pound) beef tenderloin
– 4 tablespoons olive oil
– 2 cloves garlic, minced
– 1 package fresh spinach leaves
– Salt and pepper to taste
Instructions:
1. Preheat oven to 400°F (200°C).
2. Season the tenderloin with salt and pepper.
3. Heat 2 tablespoons of olive oil in a hot skillet over medium-high heat. Sear the tenderloin for 1-2 minutes per side, then transfer to the preheated oven.
4. Cook for 15-20 minutes or until the tenderloin reaches desired doneness.
5. Meanwhile, sauté the garlic and spinach leaves in remaining 2 tablespoons of olive oil over medium heat until wilted.
6. Serve the cooked tenderloin with the sautéed spinach and garlic.
Cooking Time: 30-40 minutes
Summary
Indulge in the rich flavors of Chateaubriand with these exquisite recipe ideas perfect for special occasions. From classic Béarnaise sauce to bold flavor combinations, we’ve compiled 19 mouthwatering variations to elevate your cooking game. Try garlic herb butter and truffle mashed potatoes, or opt for a bold red wine reduction. Add some pan-seared flair with mushroom ragout, or take it up a notch with blue cheese crust. Whatever the occasion, these Chateaubriand recipes will leave your guests in awe of your culinary skills.