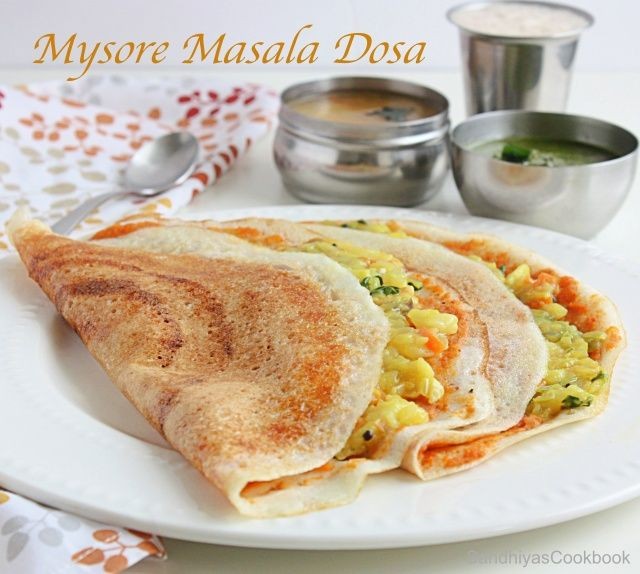
The humble dosa, a staple of South Indian cuisine, gets a spicy twist with the addition of Mysore masala. This flavorful blend of spices adds a depth and warmth to the crispy fermented crepe that is simply irresistible. But why settle for just one filling when you can have 20? In this article, we’ll explore a diverse range of recipes that showcase the versatility of Mysore masala dosas with unique fillings.
From classic combinations like potato curry and coconut chutney to more adventurous options like paneer filling and tamarind sauce, there’s something for everyone. And don’t worry if you have dietary restrictions – we’ve got you covered with gluten-free, vegan, and kid-friendly options too! So grab your blender and let’s get started on this culinary journey.
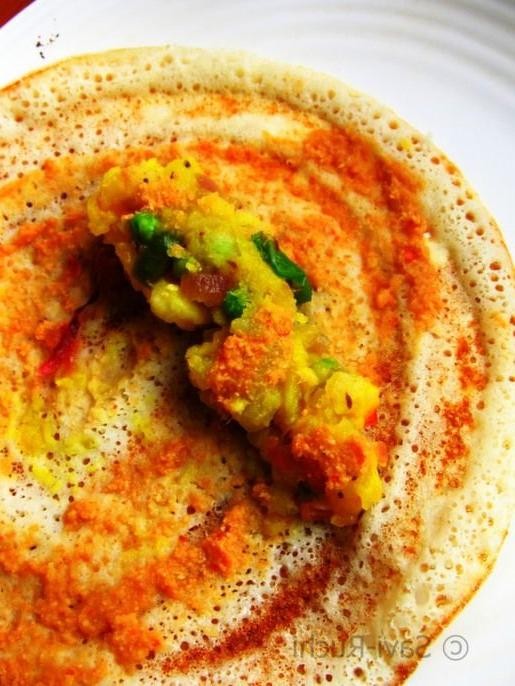
Crispy Mysore Masala Dosa with Potato Curry

Experience the flavors of South India with this classic combination of crispy dosas and spicy potato curry. Mysore masala is a blend of spices that adds depth to the dish, making it a perfect comfort food.
Ingredients:
For the dosa batter:
– 2 cups rice flour
– 1/2 cup urad dal flour
– 1/4 teaspoon salt
– 1/2 teaspoon active dry yeast
– 3 tablespoons water
– Vegetable oil for brushing
For the potato curry:
– 2 large potatoes, peeled and diced
– 1 onion, chopped
– 2 cloves garlic, minced
– 1 tablespoon vegetable oil
– 1 teaspoon cumin seeds
– 1/2 teaspoon Mysore masala powder
– Salt, to taste
– Water, as needed
Instructions:
1. Mix the dosa batter ingredients and let it ferment for 8 hours.
2. Heat a non-stick pan over medium heat and brush with oil.
3. Pour a ladle of batter and spread evenly to form a dosa.
4. Cook for 2 minutes, flip, and cook for another minute.
5. For the potato curry, sauté the onion, garlic, and cumin seeds until golden.
6. Add the potatoes, Mysore masala powder, salt, and water. Simmer until the potatoes are cooked.
7. Serve the dosas with the potato curry.
Cooking Time: 30 minutes
Cheesy Mysore Masala Dosa with Paneer Filling
Experience the flavors of India with this unique recipe that combines the classic Mysore Masala dosa with a creamy paneer filling and melted cheese.
Ingredients:
– 2 cups all-purpose flour
– 1/4 teaspoon baking powder
– 1/2 teaspoon salt
– 1 cup lukewarm water
– Vegetable oil for frying
– For the filling:
+ 250g paneer, crumbled
+ 1 tablespoon butter
+ 1 small onion, finely chopped
+ 1 clove garlic, minced
+ 1 teaspoon Mysore Masala powder
+ Salt to taste
+ Cheddar cheese, shredded (optional)
– For the dosa batter:
+ 2 tablespoons vegetable oil
Instructions:
1. Mix flour, baking powder, and salt. Gradually add lukewarm water and knead for 5 minutes.
2. Heat a non-stick pan over medium heat. Brush with oil and spread a thin layer of batter.
3. Cook for 2-3 minutes or until the edges start to curl. Flip and cook for another minute.
4. Fill with paneer mixture, followed by cheese (if using). Fold and serve hot.
Cooking Time: 15-20 minutes
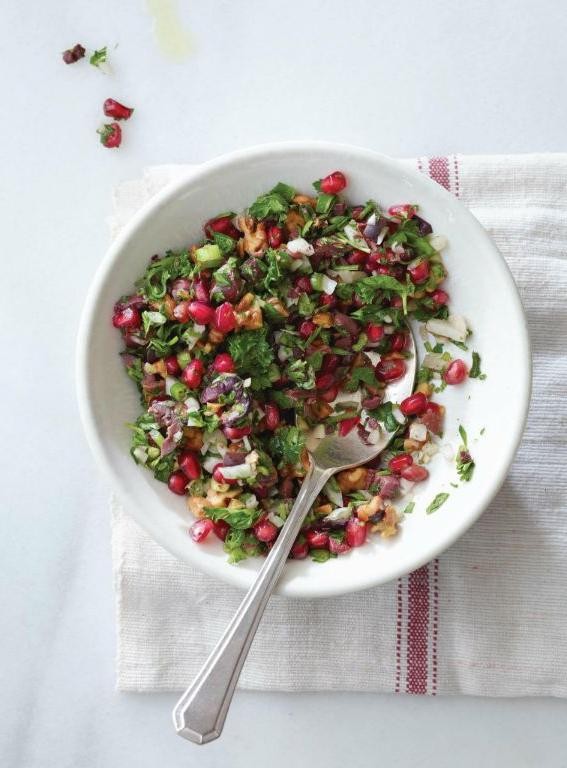
Spicy Mysore Masala Dosa with Onion Chutney

Experience the authentic flavors of South India with this recipe for Spicy Mysore Masala Dosa paired with a tangy and flavorful Onion Chutney.
Ingredients:
For the Mysore Masala Dosa:
– 2 cups dosa batter
– 1/4 teaspoon cumin seeds
– 1/4 teaspoon coriander seeds
– 1/4 teaspoon red chili powder
– Salt, to taste
– Ghee or oil, for brushing
For the Onion Chutney:
– 1 large onion, finely chopped
– 2 cloves garlic, minced
– 1/2 teaspoon cumin seeds
– 1/2 teaspoon coriander seeds
– 1 tablespoon lemon juice
– Salt, to taste
Instructions:
1. Preheat a non-stick skillet or griddle over medium heat.
2. Brush the skillet with ghee or oil and pour in a ladle of dosa batter.
3. Spread evenly to form a thin circle and sprinkle with cumin seeds, coriander seeds, and red chili powder.
4. Cook for 1-2 minutes until the edges start to curl and the surface is dry.
5. Flip and cook for another minute.
6. For the Onion Chutney, heat oil in a pan over medium heat. Add onions and sauté until golden brown.
7. Add garlic, cumin seeds, coriander seeds, lemon juice, and salt. Stir well and simmer for 2-3 minutes.
Cooking Time: 15-20 minutes
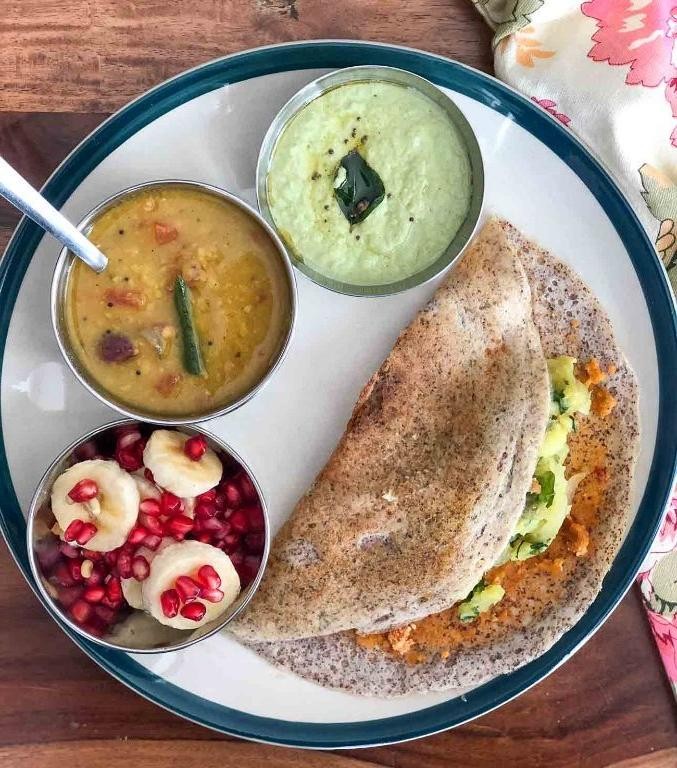
Healthy Mysore Masala Dosa with Sprouted Moong
Experience the authentic taste of South Indian cuisine with this nutritious twist on traditional dosas, made with sprouted moong and a flavorful masala filling.
Ingredients:
– 1 cup sprouted moong (split green gram)
– 2 cups water
– 1/4 teaspoon active dry yeast
– 1 tablespoon sugar
– 1/2 teaspoon salt
– 2 tablespoons olive oil
– Masala filling:
+ 1 small onion, finely chopped
+ 2 cloves garlic, minced
+ 1/2 cup cooked and mashed mung beans (green gram)
+ 1/4 teaspoon cumin powder
+ 1/4 teaspoon coriander powder
+ 1/4 teaspoon garam masala powder
+ Salt, to taste
Instructions:
1. Soak sprouted moong in water for 2 hours. Drain and grind into a smooth batter with yeast, sugar, and salt.
2. Heat oil in a non-stick pan over medium heat. Pour 1/4 cup of the batter and spread evenly.
3. Cook for 1-2 minutes or until the edges start to curl. Flip and cook for another minute.
4. Fill with masala mixture and fold into a triangle.
Cooking Time: 10-12 minutes (including preparation time)
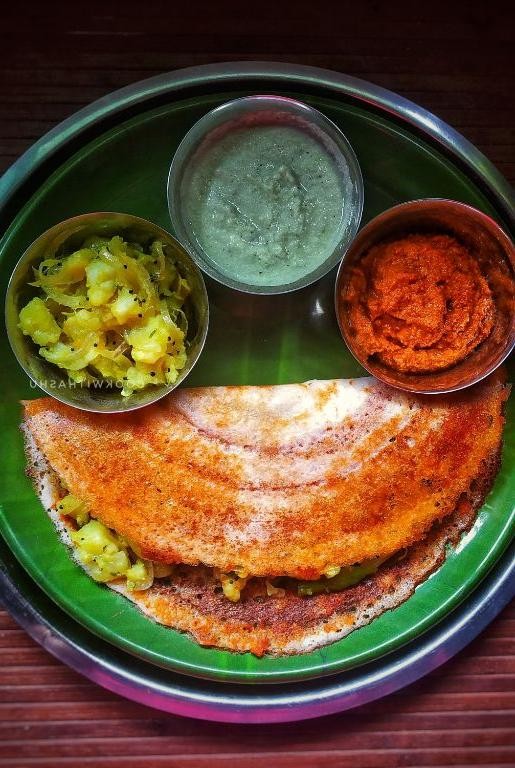
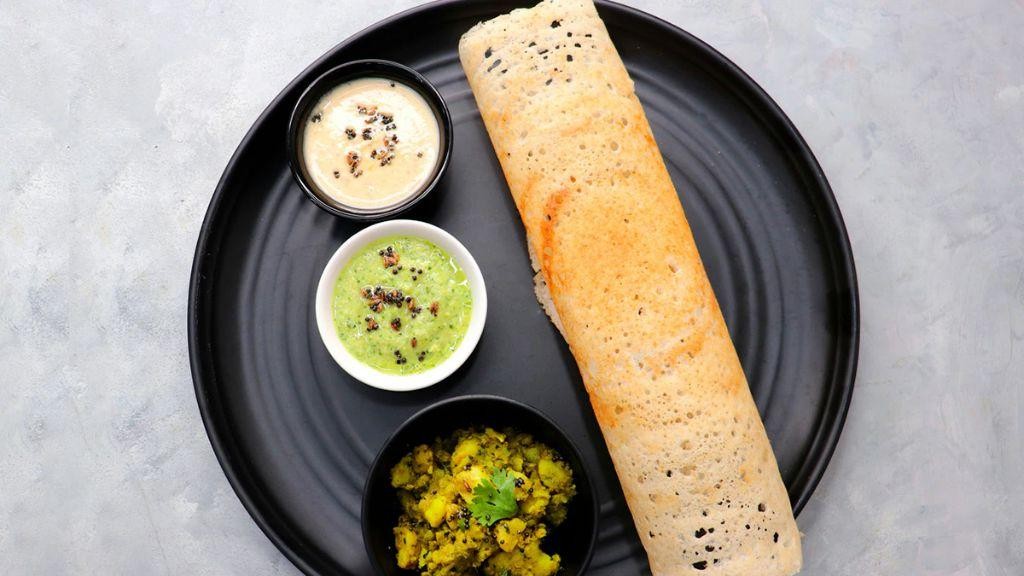
Classic Mysore Masala Dosa with Coconut Chutney
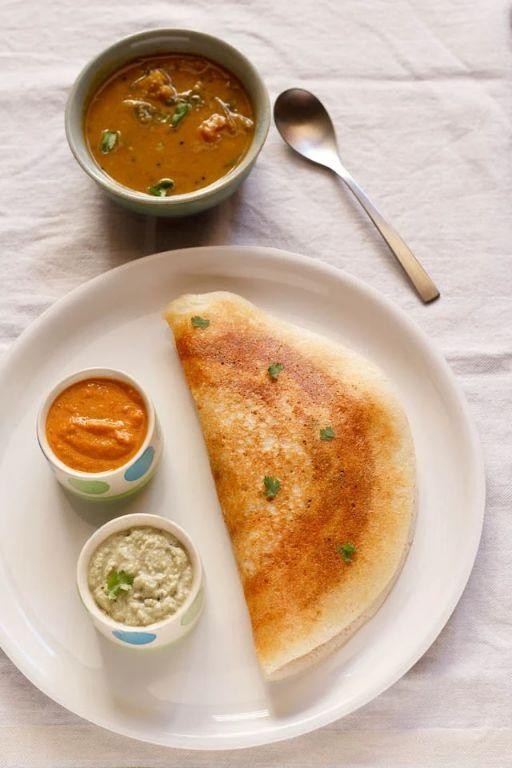
Experience the authentic flavors of South Indian cuisine with this recipe for Classic Mysore Masala Dosa, served with a side of creamy Coconut Chutney.
Ingredients:
For the dosa:
– 2 cups fermented rice batter (see note)
– 1/4 teaspoon fenugreek seeds
– 1/4 teaspoon salt
– Water, as needed
For the coconut chutney:
– 1 cup grated coconut
– 1 small onion, finely chopped
– 2 cloves garlic, minced
– 1/2 teaspoon cumin seeds
– Salt, to taste
– 2 tablespoons oil or ghee
– 1 tablespoon lemon juice
– Water, as needed
Instructions:
1. Mix the fermented rice batter with fenugreek seeds and salt.
2. Heat a non-stick skillet over medium heat. Pour about 1/4 cup of batter onto the skillet.
3. Spread the batter evenly to form a thin circle. Cook for 1-2 minutes, until the edges start to curl.
4. Flip the dosa and cook for another minute.
5. Repeat with remaining batter.
For the coconut chutney:
1. Heat oil or ghee in a pan over medium heat. Add cumin seeds and let them sizzle for a few seconds.
2. Add grated coconut, chopped onion, and minced garlic. Cook until the mixture is lightly toasted.
3. Add salt to taste, lemon juice, and water as needed. Blend into a smooth chutney.
Cooking Time: 30 minutes (including fermentation time)
Note: Fermented rice batter can be prepared in advance by fermenting cooked rice with water and a pinch of salt for 12-24 hours.
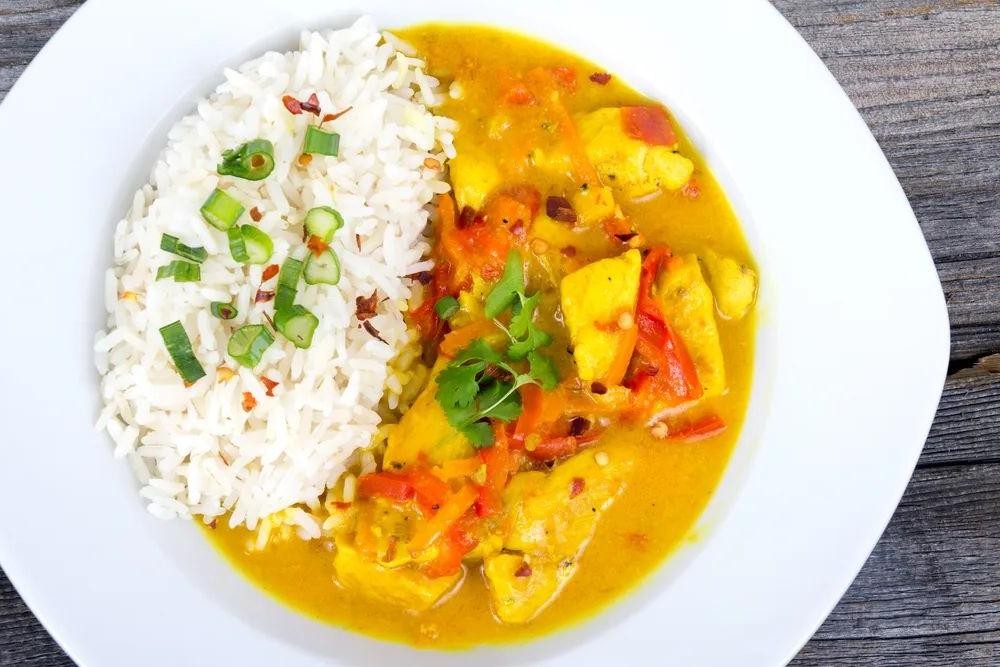
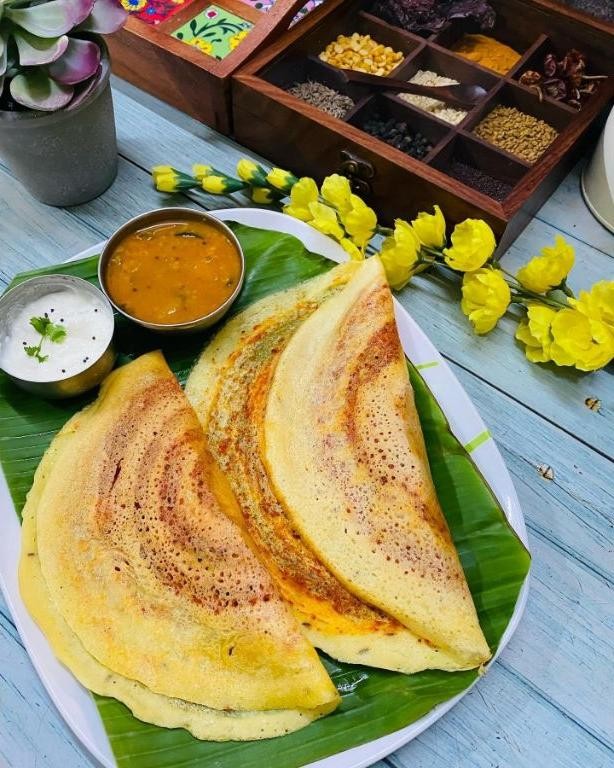
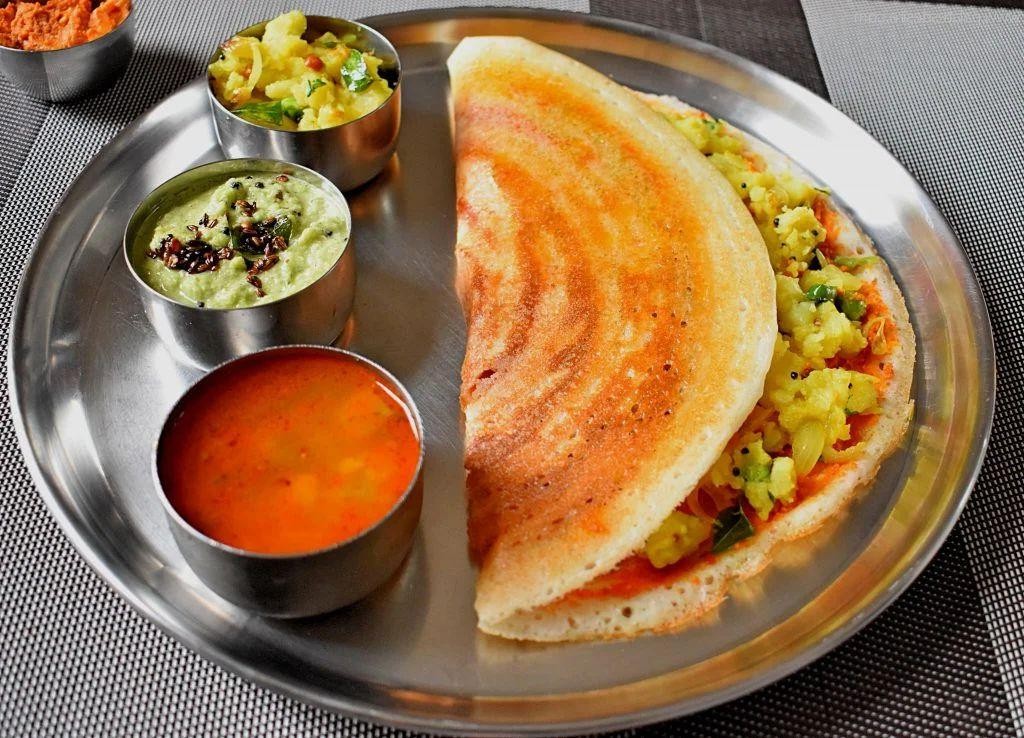
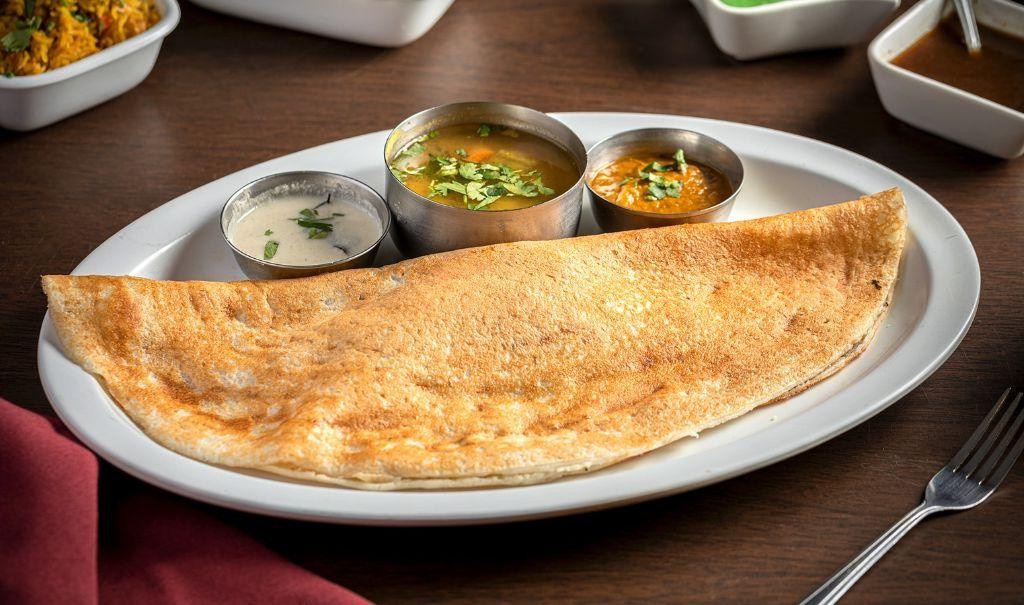
Extra Crispy Mysore Masala Dosa with Sambar
This recipe combines the flavors of Mysore masala and crispy dosa to create a mouthwatering treat. The perfect accompaniment is a warm bowl of sambar, a spicy lentil-based vegetable stew.
Ingredients:
For the dosas:
– 2 cups dosa batter
– 1/4 teaspoon Mysore masala powder
– Vegetable oil for frying
For the sambar:
– 1 cup split red lentils (masoor dal)
– 1 onion, chopped
– 2 cloves garlic, minced
– 1 medium tomato, diced
– 1 teaspoon sambar powder
– Salt, to taste
– Water, as needed
Instructions:
1. Heat a non-stick pan or griddle over medium heat.
2. Pour a ladle of dosa batter and sprinkle with Mysore masala powder.
3. Cook for 1-2 minutes or until the edges start to curl.
4. Flip and cook for another minute, until crispy.
5. Repeat with remaining batter.
6. For the sambar, sauté onions, garlic, and tomato in a little oil until softened.
7. Add lentils, sambar powder, salt, and water as needed. Simmer until thickened.
8. Serve dosas hot with warm sambar.
Cooking Time: 20-25 minutes
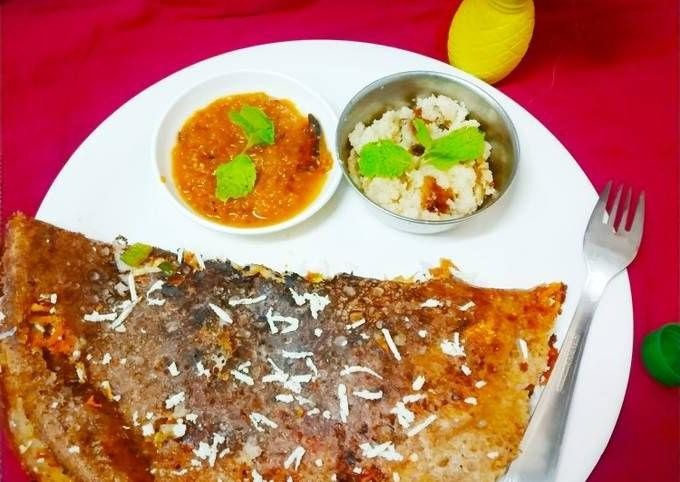
Stuffed Mysore Masala Dosa with Mixed Vegetables
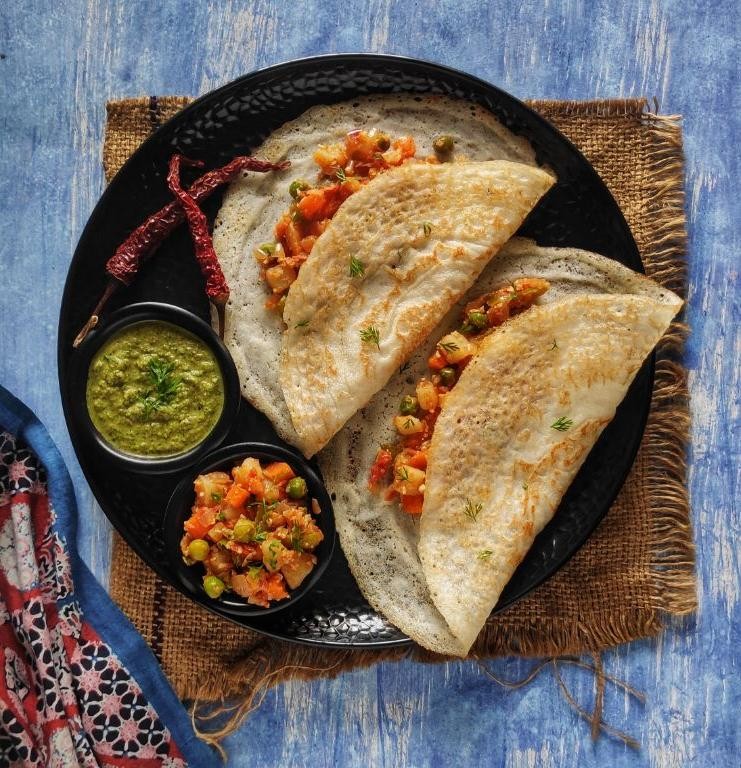
A classic South Indian dish gets a flavorful twist! This recipe combines the spices of Mysore masala with mixed vegetables and a crispy dosa to create a delicious and satisfying meal.
Ingredients:
– 2 cups dosa batter
– 1/2 cup mixed vegetables (such as carrots, beans, peas, and potatoes)
– 1 tablespoon Mysore masala powder
– 1 teaspoon oil
– Salt, to taste
– Chopped cilantro, for garnish
Instructions:
1. Heat a non-stick pan over medium heat.
2. Pour a ladle of dosa batter into the pan and spread evenly.
3. Add 1/4 teaspoon Mysore masala powder on one half of the dosa.
4. Place 1-2 tablespoons of mixed vegetables on top of the masala powder.
5. Fold the dosa in half to enclose the filling.
6. Cook for 2-3 minutes, until the dosa is crispy and golden brown.
7. Flip and cook the other side for an additional minute.
8. Serve hot with a dollop of butter or chutney.
Cooking Time: 10-12 minutes
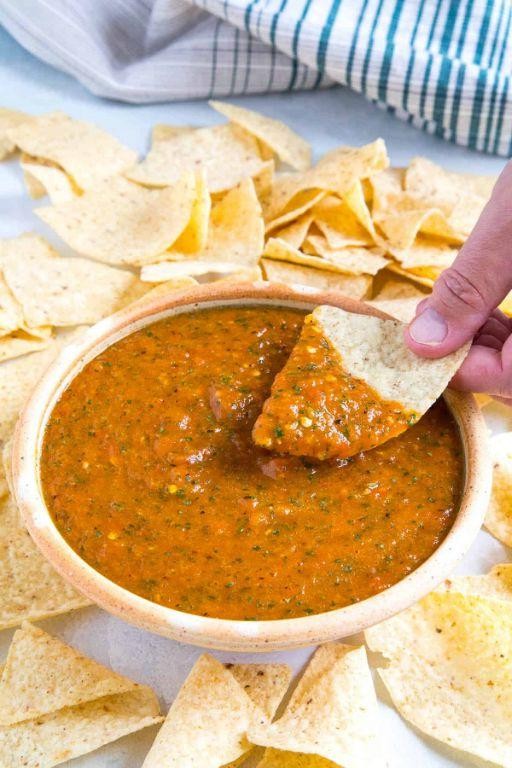
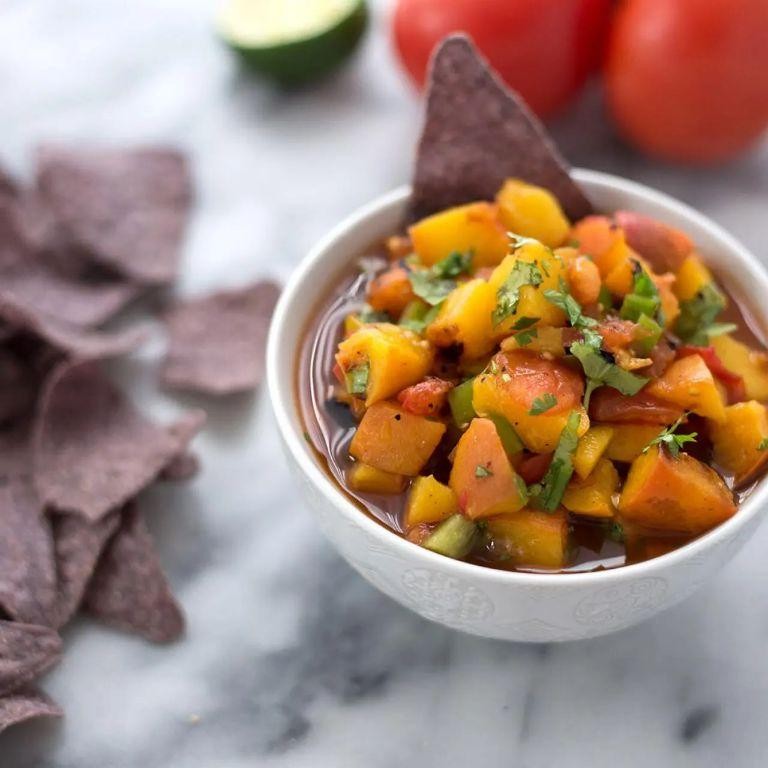
Quick Mysore Masala Dosa with Tomato Chutney
Experience the flavors of South India with this quick and easy recipe for Mysore Masala Dosas, served with a tangy and sweet Tomato Chutney.
Ingredients:
For the dosas:
– 2 cups all-purpose flour
– 1/2 teaspoon salt
– 1/4 teaspoon baking powder
– 1 cup lukewarm water
– Vegetable oil for frying
For the tomato chutney:
– 3 ripe tomatoes, diced
– 1 small onion, finely chopped
– 2 cloves garlic, minced
– 1 tablespoon tamarind paste
– Salt to taste
– Chopped cilantro for garnish (optional)
Instructions:
1. Mix flour, salt, and baking powder in a bowl. Gradually add lukewarm water to form a smooth batter.
2. Heat a non-stick pan or griddle over medium heat. Brush with oil.
3. Pour 1/4 cup of batter onto the pan and spread evenly.
4. Cook for 2 minutes on each side, until crispy and golden brown.
5. For the chutney, sauté onions, garlic, and tomatoes in a pan until soft. Add tamarind paste and salt to taste.
6. Serve dosas with tomato chutney and garnish with cilantro (if desired).
Cooking Time: 20-25 minutes
Ghee-Roasted Mysore Masala Dosa with Mint Chutney

Experience the flavors of South India with this iconic dish, elevated by the richness of ghee and the freshness of mint. This recipe combines the comfort of a crispy dosa with the warmth of spices and the cooling effect of mint.
Ingredients:
For the Mysore Masala Dosa:
– 2 cups split black gram (urad dal)
– 1 cup rice flour
– 1/4 teaspoon salt
– 1/2 teaspoon active dry yeast
– Water, as needed
For the Ghee Roasting:
– 2 tablespoons ghee
For the Mint Chutney:
– 1 cup fresh mint leaves
– 1/2 cup green chilies
– 1 small onion, finely chopped
– 1 tablespoon lemon juice
– Salt, to taste
Instructions:
1. Soak urad dal and yeast in water for at least 4 hours.
2. Grind the mixture into a smooth paste.
3. Mix with rice flour, salt, and enough water to form a thick batter.
4. Let it ferment overnight or for 8-10 hours.
5. Roast the dosas on a non-stick skillet with ghee until crispy and golden brown.
6. Prepare the mint chutney by blending all ingredients together.
7. Serve the dosas hot with a dollop of mint chutney.
Cooking Time: 20-25 minutes
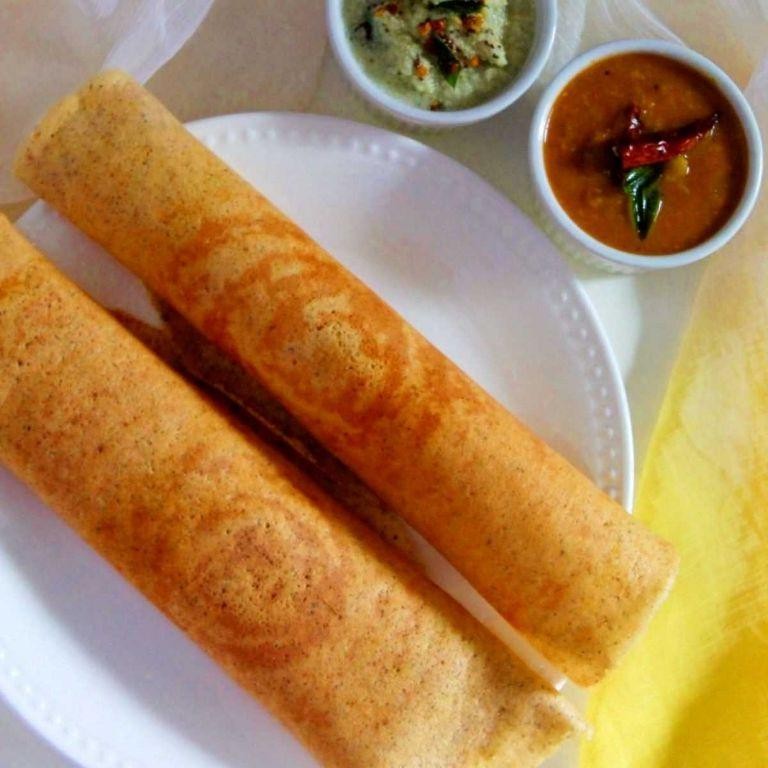
Jowar Mysore Masora Dosa with Peanut Chutney

This recipe combines the nutty flavor of jowar (sorghum) flour with the richness of Mysore masala and the creaminess of peanut chutney, creating a delicious and nutritious dosa perfect for breakfast or snacks.
Ingredients:
For Jowar Mysore Masora Dosa:
– 1 cup jowar flour
– 1/2 cup ragi flour
– 1/4 teaspoon baking powder
– 1/4 teaspoon salt
– 3/4 cup lukewarm water
– 1 tablespoon oil
For Peanut Chutney:
– 1/2 cup peanuts
– 1 small onion, finely chopped
– 1 small tomato, finely chopped
– 1/4 teaspoon cumin seeds
– Salt to taste
– 2 tablespoons tamarind paste
– 2 tablespoons water
Instructions:
1. Mix jowar and ragi flours with baking powder and salt.
2. Gradually add lukewarm water to form a smooth batter. Rest for 30 minutes.
3. Heat oil in a non-stick pan over medium heat.
4. Pour a ladle of batter and spread evenly to form a dosa.
5. Cook for 1-2 minutes or until the edges start curling.
6. Flip and cook for another minute.
7. For peanut chutney, grind peanuts with onion, tomato, cumin seeds, salt, tamarind paste, and water into a smooth paste.
Cooking Time: 20-25 minutes
Oats Mysore Masala Dosa with Coriander Chutney
Experience the flavors of South India with this unique twist on traditional dosa, featuring oats and the spicy-sweet combination of Mysore masala. This recipe combines the nutty goodness of oats with the bold spices of Mysore masala, served with a refreshing coriander chutney.
Ingredients:
For the Oats Mysore Masala Dosa:
– 1 cup rolled oats
– 2 cups all-purpose flour
– 1/4 teaspoon salt
– 1/4 teaspoon baking powder
– 1/2 cup lukewarm water
– 1/4 cup Mysore masala powder (or substitute with a combination of paprika, cumin, coriander, and chili powder)
– Ghee or oil for brushing
For the Coriander Chutney:
– 1 cup fresh coriander leaves
– 1 small onion, finely chopped
– 2 cloves garlic, minced
– 1/2 teaspoon salt
– 1 tablespoon lemon juice
– 1/4 cup water
Instructions:
1. Combine oats, flour, salt, and baking powder in a bowl.
2. Gradually add lukewarm water to form a smooth batter.
3. Add Mysore masala powder and mix well.
4. Heat a non-stick pan over medium heat. Brush with ghee or oil.
5. Pour 1/4 cup of the batter and cook for 2-3 minutes, until the edges start to curl.
6. Flip and cook for another minute.
7. Repeat with remaining batter.
For the Coriander Chutney:
1. Blend coriander leaves, onion, garlic, salt, lemon juice, and water in a blender until smooth.
Cooking Time: 15-20 minutes
Multigrain Mysore Masala Dosa with Garlic Chutney

Experience the flavors of South India with this recipe that combines the classic dosa with a rich and spicy garlic chutney. This multigrain version adds an extra layer of nutrition to this popular street food.
Ingredients:
For the dosa:
– 1 cup multigrain flour
– 1/2 cup rice flour
– 1/4 teaspoon baking powder
– 1/4 teaspoon salt
– 3/4 cup lukewarm water
– Ghee or oil for greasing
For the garlic chutney:
– 6-8 cloves garlic, minced
– 1 small onion, finely chopped
– 1/2 teaspoon grated ginger
– 1 tablespoon lemon juice
– Salt to taste
– 1/4 cup vegetable oil
– Chopped cilantro for garnish
Instructions:
1. Mix the dosa ingredients with lukewarm water to form a smooth batter.
2. Heat a non-stick pan over medium heat and grease with ghee or oil.
3. Pour in a ladle of batter and spread evenly to form a thin circle.
4. Cook for 2-3 minutes, until the edges start to curl.
5. Flip and cook for another minute.
6. For the garlic chutney, heat oil in a pan over medium heat. Add minced garlic, chopped onion, and grated ginger. Saute until golden brown.
7. Season with salt, lemon juice, and chopped cilantro.
Cooking Time: 20-25 minutes (includes prep time)
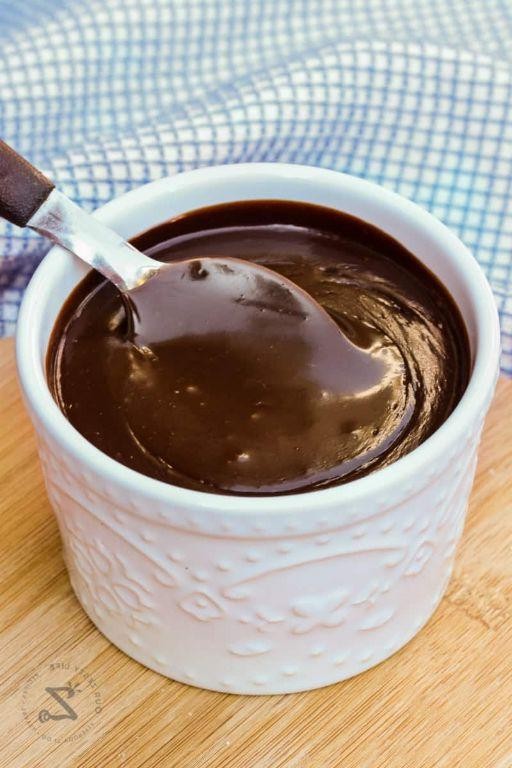
Sweet and Spicy Mysore Masala Dosa with Jaggery
Experience the perfect blend of sweet and spicy flavors in this authentic South Indian recipe, where the crispy dosa is filled with a flavorful mixture of jaggery, chili peppers, and spices.
Ingredients:
– 2 cups of urad dal batter
– 1/2 cup of jaggery powder
– 1 teaspoon of Mysore masala powder
– 1/4 teaspoon of red chili pepper powder
– Salt to taste
– Ghee or oil for frying
Instructions:
1. Mix the jaggery powder with 1 tablespoon of water to form a smooth paste.
2. Add the Mysore masala powder and red chili pepper powder to the urad dal batter and mix well.
3. Heat a non-stick pan or griddle over medium heat.
4. Pour a ladleful of the batter onto the pan and spread evenly.
5. Place 1-2 teaspoons of the jaggery paste in the center of the dosa.
6. Fold the dosa into a triangle to enclose the filling.
7. Cook for 30 seconds on each side, until crispy and golden brown.
8. Serve hot with your favorite accompaniments.
Cooking Time: 15-20 minutes
Kids-Friendly Mysore Masala Dosa with Cheese Spread
Mysore Masala Dosa is a popular Indian dish that typically consists of fermented rice and lentil batter, but we’ve given it a kid-friendly spin by adding a delicious cheese spread. This recipe is perfect for a quick and easy snack or lunch.
Ingredients:
– 1 cup all-purpose flour
– 1/2 cup curd (yogurt)
– 1/4 teaspoon salt
– 1 tablespoon vegetable oil
– Cheese spread (store-bought or homemade)
– Optional: chopped cilantro for garnish
Instructions:
1. In a large bowl, mix together the flour, curd, and salt.
2. Gradually add water to form a smooth batter.
3. Heat the oil in a non-stick pan over medium heat.
4. Pour a small amount of batter into the pan and spread evenly to form a thin layer.
5. Cook for 2-3 minutes or until the edges start to curl.
6. Spread cheese on one half of the dosa, then fold the other half to create a half-moon shape.
7. Serve hot with a sprinkle of cilantro (if using).
Cooking Time: Approximately 10-12 minutes
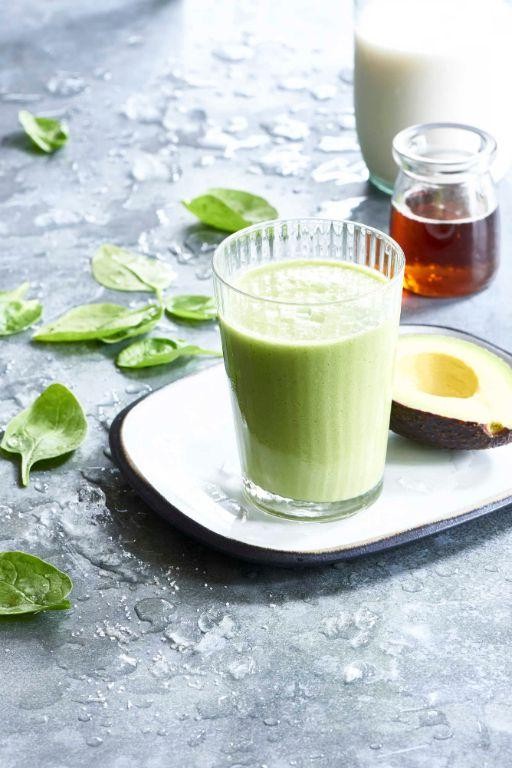
Vegan Mysore Masala Dosa with Avocado Chutney
Experience the flavors of South India with this vegan twist on the classic dosa, served with a creamy avocado chutney. This recipe combines the comfort of fermented lentils and rice with the spiciness of Mysore masala, all wrapped up in a crispy, savory crepe.
Ingredients:
For the dosa batter:
– 1 cup cooked brown rice
– 1/2 cup cooked split red lentils (masoor dal)
– 1/4 teaspoon active dry yeast
– 1/2 teaspoon salt
– 1/2 cup lukewarm water
For the Mysore masala:
– 2 tablespoons vegan butter or oil
– 2 cloves garlic, minced
– 1 small onion, finely chopped
– 1 tablespoon grated ginger
– 1 teaspoon ground cumin
– 1/2 teaspoon ground coriander
– 1/4 teaspoon cayenne pepper (optional)
– Salt, to taste
For the avocado chutney:
– 3 ripe avocados, mashed
– 1 small onion, finely chopped
– 1 jalapeño pepper, seeded and finely chopped
– 2 tablespoons freshly squeezed lime juice
– Salt, to taste
Instructions:
1. Combine dosa batter ingredients in a bowl and ferment for 24 hours.
2. Make Mysore masala by sautéing the mixture of vegan butter or oil, garlic, onion, ginger, cumin, coriander, and cayenne pepper (if using) until fragrant. Add salt to taste.
3. Cook dosas according to package instructions.
4. Serve with Mysore masala and avocado chutney.
Cooking Time: 2 hours (including fermentation time)
Gluten-Free Mysore Masala Dosa with Lentil Filling
Experience the flavors of South India with this classic dish, adapted to be gluten-free and vegetarian. This recipe combines crispy dosas with a flavorful lentil filling, perfect for a quick and satisfying meal.
Ingredients:
For the dosa batter:
– 1 cup rice flour (gluten-free)
– 1/2 cup split red gram (masoor dal)
– 1/4 teaspoon baking soda
– 1/4 teaspoon salt
– 1 tablespoon fenugreek seeds (optional)
For the lentil filling:
– 1 cup cooked lentils (red or yellow)
– 1 small onion, finely chopped
– 2 cloves garlic, minced
– 1 tablespoon Mysore masala powder
– 1/4 teaspoon salt
– 2 tablespoons vegetable oil
Instructions:
1. Mix dosa batter ingredients and ferment for at least 12 hours.
2. Heat a non-stick pan over medium heat. Pour a small ladle of batter and spread evenly to form a thin circle.
3. Cook for 30 seconds, then flip and cook for another 30 seconds.
4. Prepare the lentil filling by sautéing onion, garlic, Mysore masala powder, and salt in oil until fragrant.
5. Fill cooked dosas with the lentil mixture and serve hot.
Cooking Time: 15-20 minutes (includes fermentation time)
Restaurant-Style Mysore Masala Dosa with Red Chutney

Experience the authentic flavors of South Indian cuisine with this recipe for Restaurant-Style Mysore Masala Dosa, served with a tangy and spicy Red Chutney.
Ingredients:
For the dosa:
– 2 cups urad dal (split black gram)
– 1 cup chana dal (split Bengal gram)
– 1/2 cup water
– 1/4 teaspoon methi seeds (fenugreek seeds)
– Salt, to taste
For the red chutney:
– 1 cup fresh tamarind pulp
– 1/2 cup green chilies
– 1 small onion, finely chopped
– 1/2 teaspoon grated ginger
– Salt, to taste
– Water, as needed
Instructions:
1. Soak urad dal and chana dal in water for at least 4 hours. Drain and grind into a smooth paste.
2. Heat a non-stick pan over medium heat. Pour a ladle of the batter and spread evenly.
3. Cook for 2-3 minutes or until the dosa is golden brown and crispy.
4. Flip and cook for another minute. Repeat with remaining batter.
For the red chutney:
1. Blend all ingredients together, adding water as needed to achieve desired consistency.
2. Simmer over low heat for 5-7 minutes or until thickened slightly.
3. Serve the dosa with a dollop of red chutney and enjoy!
Cooking Time: 20-25 minutes
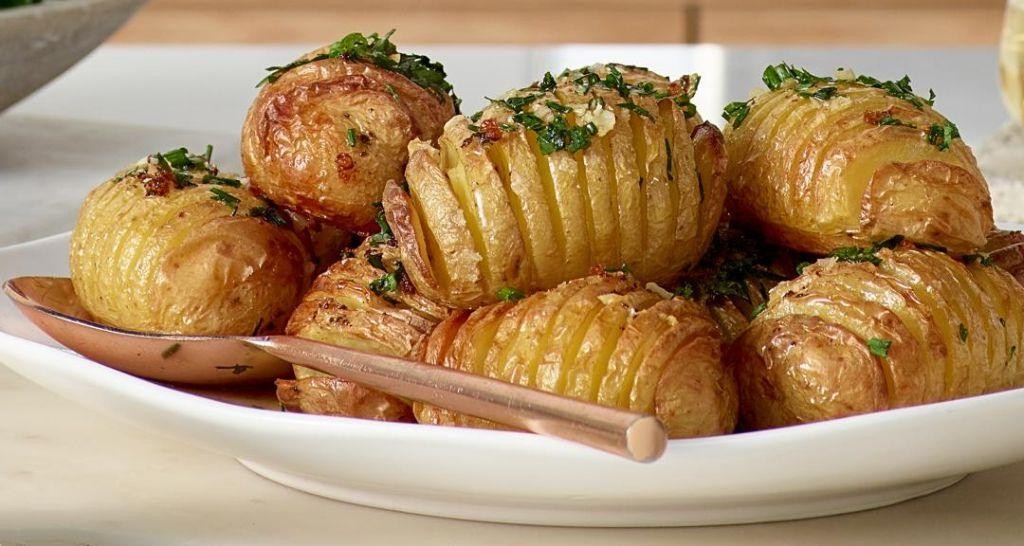
Mini Mysore Masala Dosa Bites with Tamarind Sauce

Experience the flavors of South India with these bite-sized dosas, filled with spicy potatoes and served with a tangy tamarind sauce. Perfect as an appetizer or snack.
Ingredients:
– 1 cup dosa batter
– 1/2 cup boiled and mashed potatoes
– 1/4 cup Mysore masala powder
– 1/4 teaspoon salt
– Vegetable oil for frying
– Tamarind sauce (see below)
Tamarind Sauce:
– 1 cup tamarind paste
– 1/2 cup water
– 1 tablespoon sugar
Instructions:
1. Heat a non-stick pan or griddle over medium heat.
2. Pour a small amount of dosa batter and spread evenly to form a mini dosa.
3. Place a spoonful of mashed potatoes in the center of the dosa, followed by a sprinkle of Mysore masala powder and salt.
4. Fold the dosa into a triangle or a square shape to enclose the filling.
5. Fry the dosas until crispy and golden brown, about 2-3 minutes per side.
6. Serve hot with tamarind sauce for dipping.
Cooking Time: 10-12 minutes
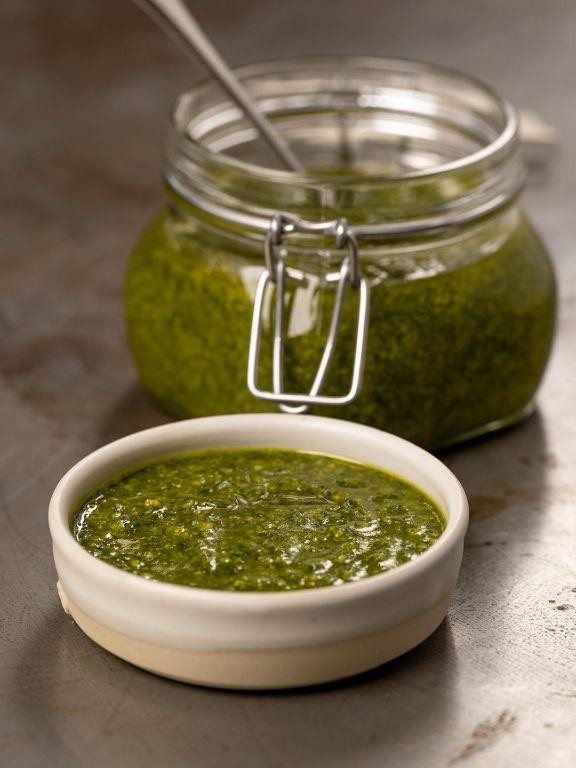
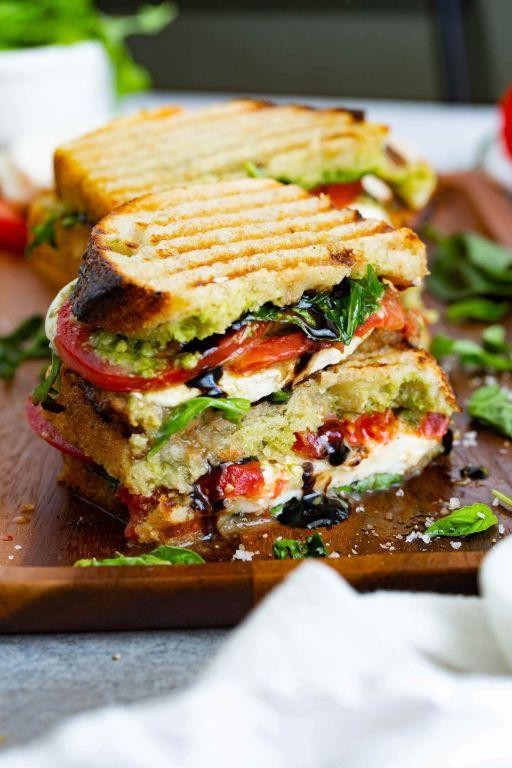
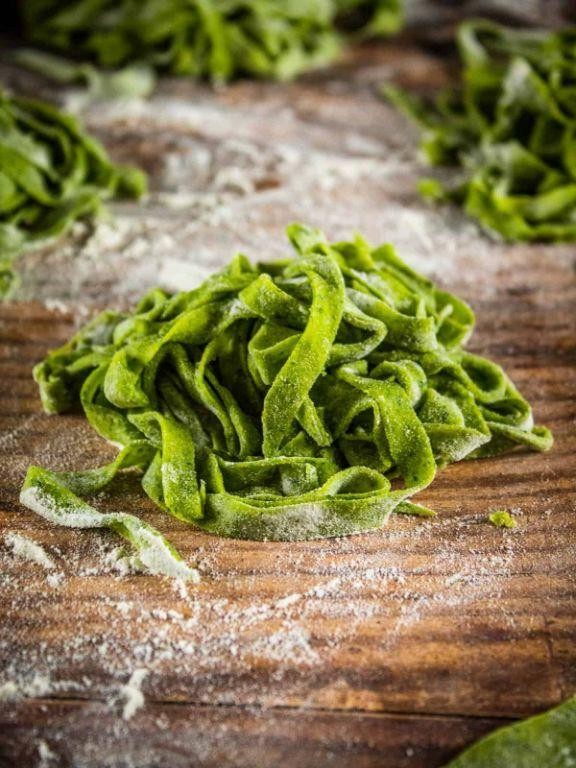
Fusion Mysore Masala Dosa with Pesto Filling

Experience the harmony of Indian and Italian flavors in this innovative dosa recipe. The creamy pesto filling adds a new dimension to the classic masala dosa, making it a perfect fusion dish.
Ingredients:
For the dosa batter:
– 2 cups rice flour
– 1 cup fenugreek seeds (methi)
– 1/2 teaspoon baking powder
– Salt, to taste
– Water, as needed
For the pesto filling:
– 1/4 cup freshly made basil pesto
– 1/4 cup crumbled feta cheese
– 1 tablespoon lemon juice
– 1/2 teaspoon garlic powder
– Salt, to taste
Instructions:
1. In a large mixing bowl, combine rice flour, fenugreek seeds, and baking powder.
2. Gradually add water to form a smooth batter.
3. Heat a non-stick pan over medium heat.
4. Pour about 1/4 cup of the batter onto the pan.
5. Spread the batter evenly to form a thin layer.
6. Cook for 1-2 minutes, until the edges start to curl.
7. Flip and cook for another minute.
8. Spoon the pesto filling onto half of the dosa, leaving a small border.
9. Fold the dosa in half to enclose the filling.
10. Serve hot and enjoy!
Cooking Time: 15-20 minutes per batch (depending on the number of dosas)
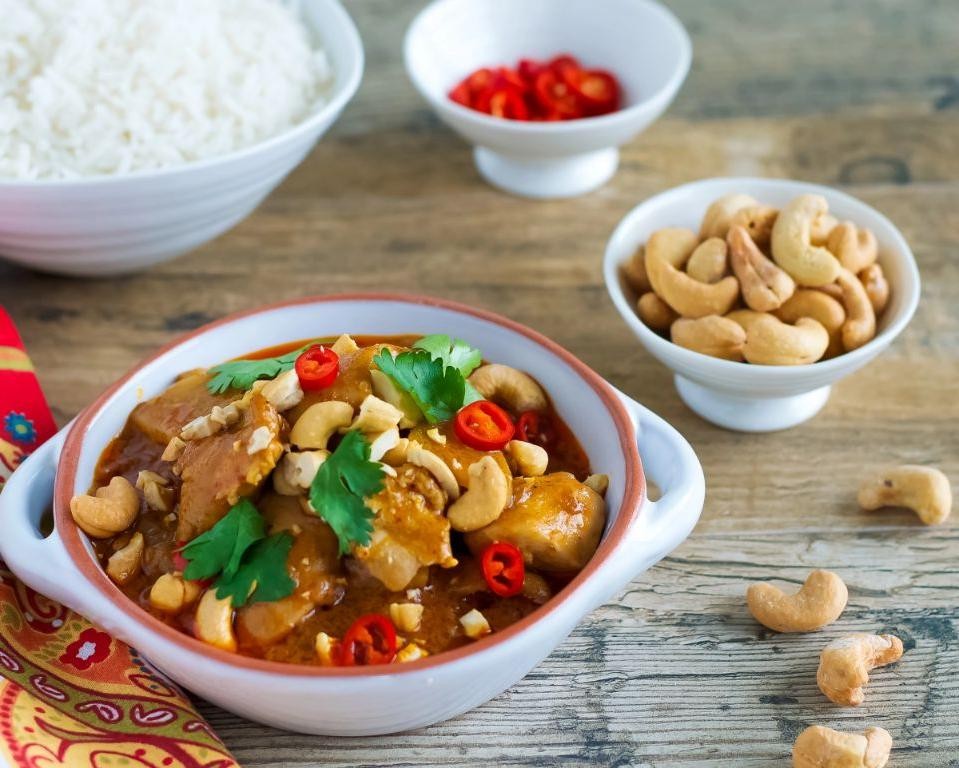
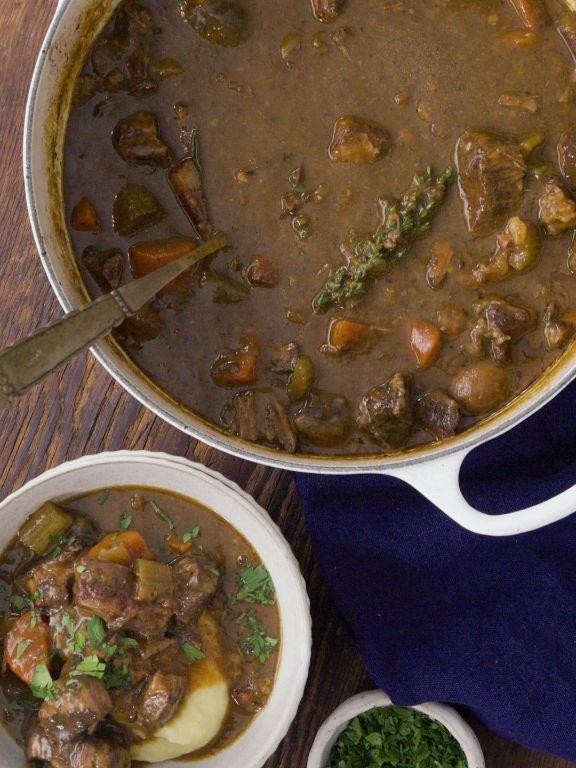
Loaded Mysore Masala Dosa with Chana Masala
Experience the perfect blend of Indian flavors and textures with this loaded dosa, featuring creamy chana masala and spicy Mysore masala. This recipe combines the classic South Indian dish with a flavorful North Indian twist.
Ingredients:
– 2 cups fermented dosa batter
– 1 cup cooked chana masala (chickpeas in tomato-based gravy)
– 1/4 cup melted butter or ghee
– 1 tablespoon Mysore masala powder
– Salt, to taste
– Chopped cilantro, for garnish
Instructions:
1. Heat a non-stick skillet over medium heat.
2. Brush the dosa batter with melted butter or ghee.
3. Spread a thin layer of chana masala on one half of the dosa.
4. Sprinkle Mysore masala powder and salt to taste.
5. Fold the other half of the dosa over the filling.
6. Cook for 2-3 minutes, until crispy and golden brown.
7. Garnish with chopped cilantro and serve hot.
Cooking Time: 15-20 minutes
Summary
Discover the spicy and delicious world of Mysore Masala Dosa recipes! This article features 20 unique and mouth-watering recipes that take this popular Indian dish to the next level. From classic combinations like potato curry and coconut chutney, to innovative fillings such as paneer and mixed vegetables, there’s something for every taste bud. Try extra crispy dosas with sambar, or loaded dosas with chana masala – the possibilities are endless! Whether you’re a foodie or just looking for new recipe ideas, this article is sure to satisfy your cravings.